The holiday season is here, and it’s time to fill our kitchens with the delicious smell of Christmas treats. When it comes to festive desserts, there’s nothing quite like a batch of homemade Christmas truffles.
These little bites of sweetness are perfect for sharing, gifting, or simply enjoying with a cup of hot cocoa by the fireplace. Plus, they’re so easy to make that you can whip up a variety of truffle recipes without spending hours in the kitchen.
With so many flavors to choose from, like classic chocolate, peppermint, or even cheesecake truffles, there’s a recipe for everyone. The best part? Most of these truffle recipes are no-bake, which means you can get the kids involved without worrying about the oven.
Whether you prefer rich chocolate truffles, crunchy cookie balls, or festive holiday truffles decorated with sprinkles, these recipes will help you create the perfect Christmas spread.
If you’re looking for something special for a holiday party, or just want to make your Christmas candy tray extra magical, these 40 Christmas truffle recipes are a must-try.
From gourmet options to easy truffle ideas, there’s no shortage of ways to sweeten your holidays. Let’s get truffle-making!

Christmas Chocolate Truffles

Christmas chocolate truffles are a delightful treat that you can create with your family during the holiday season. They make perfect gifts for friends and neighbors, and you’ll love how easy they’re to prepare. Plus, they’re a fun way to get kids involved in the kitchen!
Ingredients:
- 3 cups semi-sweet chocolate chips
- 14 oz sweetened condensed milk
- 1 tbsp vanilla extract
- ½ cup sprinkles
Instructions:
- Begin by melting the chocolate chips, sweetened condensed milk, and vanilla extract together in a double boiler. Stir until smooth and well blended.
- Once melted, remove the mixture from heat and let it cool for a few minutes.
- Place the mixture in the refrigerator for about 2 hours until it firms up.
- After the mixture is chilled, use your hands to roll it into small balls, about 1 inch in diameter.
- Roll each ball in sprinkles to coat them evenly.
- For easier handling, chill the truffles again for about 30 minutes before serving.
These chocolate truffles are a joy to make, and don’t forget to have fun with your family while doing it! If the mixture is too sticky, try rolling the balls in your hands for a little longer. You can also use mini muffin liners to keep them organized and looking pretty for gift-giving!
Pineapple Christmas Balls
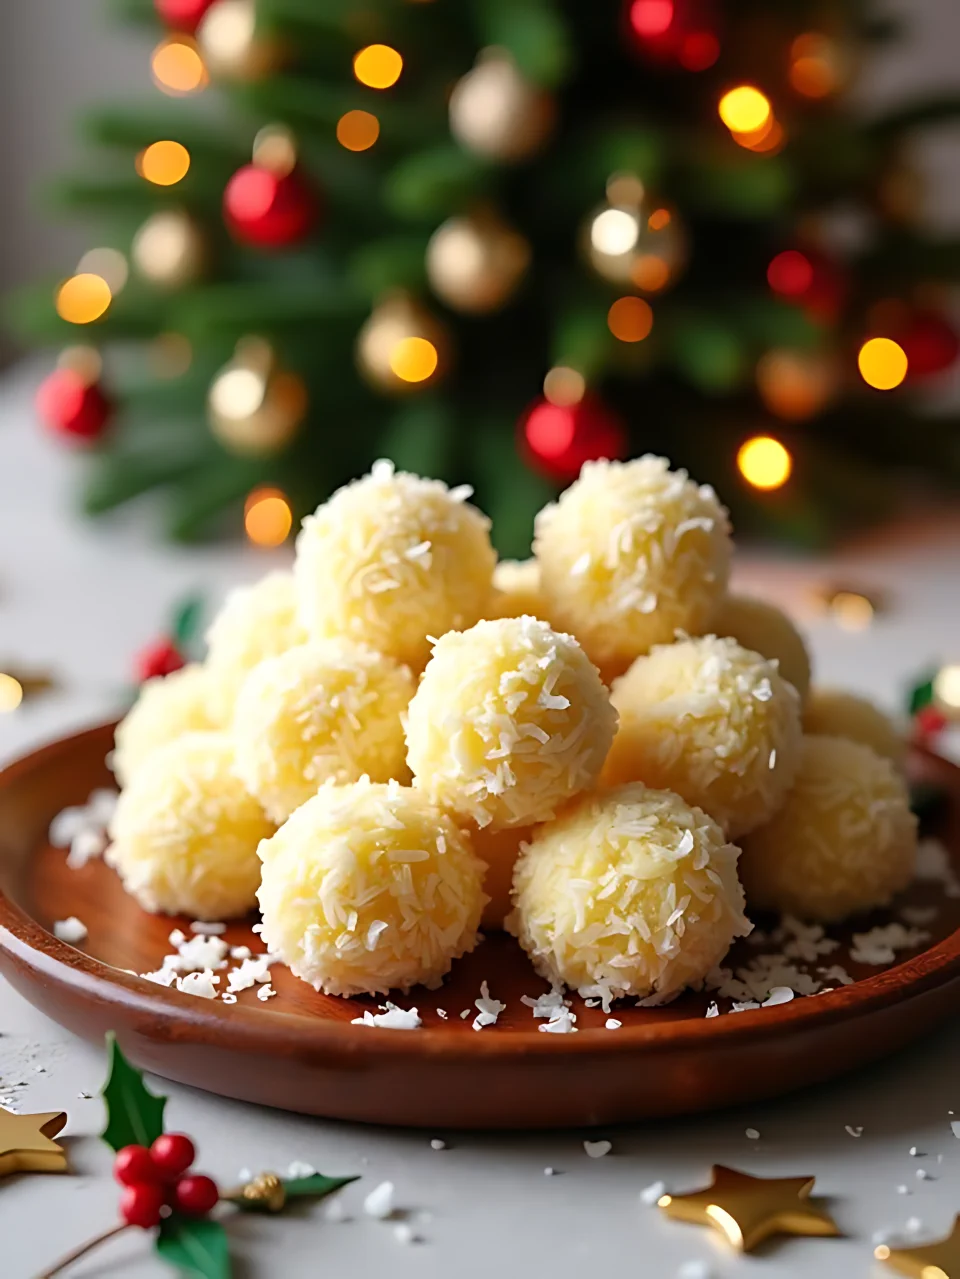
Pineapple Christmas Balls are a delightful no-bake treat that brings joy to any holiday gathering! They’re quick to prepare and packed with flavor, making them a favorite in our family.
Ingredients:
- 1 can (398 mL) crushed pineapple, very well drained
- 8 ounces cream cheese (brick-style), at room temperature
- 2 cups unsweetened fine desiccated coconut (plus more for rolling)
- ½ cup graham crumbs
- 1 package (3 ounces) pineapple Jello (Island Pineapple flavor)
Instructions:
- Begin by draining the canned crushed pineapple using a fine mesh strainer. Press down with a spatula to remove as much moisture as possible.
- In a large mixing bowl, beat the room temperature cream cheese until smooth.
- Add the well-drained pineapple, unsweetened coconut, graham crumbs, and pineapple Jello to the cream cheese. Mix everything together until well combined.
- Cover the bowl and refrigerate the mixture for about one hour to help it firm up.
- Once the mixture is chilled, scoop out small portions and roll them into balls, about the size of a tablespoon.
- Roll each ball in additional unsweetened coconut to coat them nicely.
- Place the finished Pineapple Christmas Balls on a serving platter and enjoy!
For the best results, serve these Pineapple Christmas Balls at room temperature so their flavor shines. They can be made ahead of time and stored in the fridge or even frozen for later. If you want to get creative, feel free to experiment with different Jello flavors or add some chopped nuts for extra crunch!
Holiday Eggnog Truffles
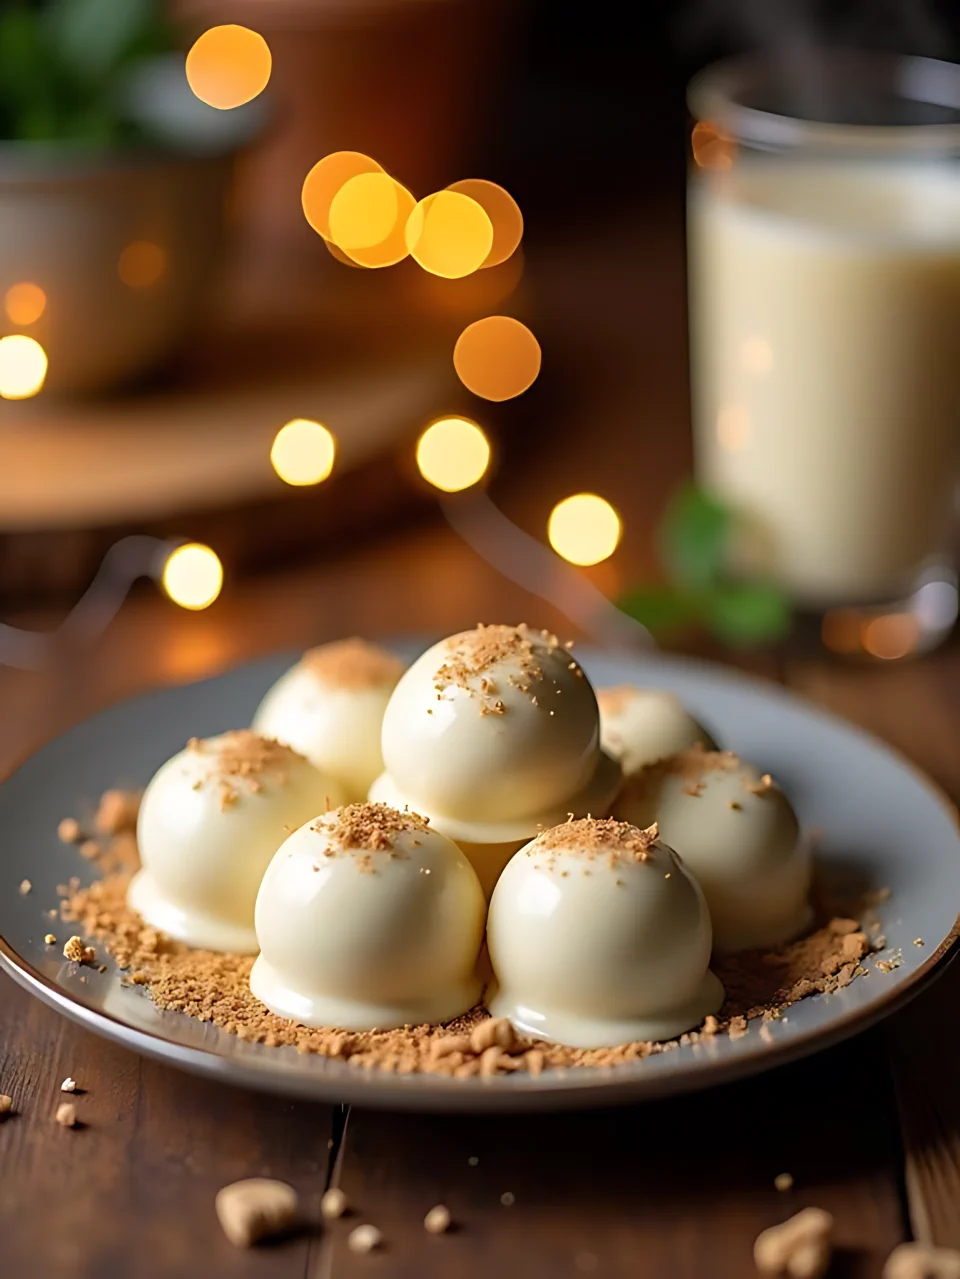
These delightful Holiday Eggnog Truffles are perfect for festive gatherings and make a wonderful treat to share with family and friends. With the creamy blend of white chocolate, eggnog, and spices, they’re sure to bring joy to your holiday celebrations!
Ingredients:
- 8 oz. cream cheese (brick-style)
- 1 cup confectioners sugar
- 2 tablespoons rum (or rum extract)
- 1 teaspoon cinnamon
- 1/2 teaspoon nutmeg
- 8 oz. white chocolate
- 1/4 cup eggnog
- Coconut oil (optional, for thinning chocolate)
Instructions:
- In a mixing bowl, combine the cream cheese and confectioners sugar. Blend until smooth.
- Add the rum, cinnamon, and nutmeg to the cream cheese mixture, and mix until fully incorporated.
- Refrigerate the mixture for about one hour to firm it up.
- After the mixture has chilled, melt the white chocolate and eggnog together in the microwave, stirring until smooth. If the chocolate is too thick, add a bit of coconut oil to thin it out.
- Roll the chilled cream cheese mixture into small balls and place them back in the refrigerator for a few minutes to firm up again.
- Using a toothpick, dip each truffle into the melted white chocolate, making sure to coat it evenly.
- Tap the toothpick on the bowl rim to remove any excess chocolate, and use a second toothpick to wipe away drips.
- Place the dipped truffles on a baking sheet lined with parchment paper and let them set until the chocolate hardens.
For an extra special touch, you can garnish your truffles with freshly grated nutmeg or a sprinkle of cinnamon on top. These truffles can be stored in the refrigerator, and they taste even better after a day or two!
Peppermint Chocolate Truffles

Making Peppermint Chocolate Truffles is a fun and festive way to celebrate the holiday season! These delightful treats are perfect for sharing with friends and neighbors, and they’re so easy to make that the whole family can get involved.
Ingredients:
- 2 cups semi-sweet chocolate chips
- 1 cup heavy cream
- 1 teaspoon peppermint extract
- 1 cup crushed peppermint candies
- Cocoa powder or extra crushed peppermint candies for rolling (optional)
Directions:
- Start by heating a pot of water to a simmer and place a heatproof bowl on top (this is called a double boiler). Add the chocolate chips and heavy cream to the bowl.
- Stir the mixture continuously until the chocolate is completely melted and smooth.
- Remove the bowl from the heat and mix in the peppermint extract.
- Let the mixture cool to room temperature for about 20-25 minutes. It will thicken as it cools.
- Once cooled, use a 1 teaspoon scoop to portion out the chocolate mixture and roll it into balls with your hands.
- Roll each truffle in crushed peppermint candies or cocoa powder to coat, then place them on a baking sheet lined with parchment paper.
- Chill the truffles in the refrigerator for about 30 minutes until firm.
Make sure to store your truffles in a sealed container with layers of parchment paper to keep them from sticking together. If you want to prepare them ahead of time, you can freeze the truffles! Just let them thaw at room temperature for 15 minutes before serving.
Pumpkin Spice Cheesecake Truffles
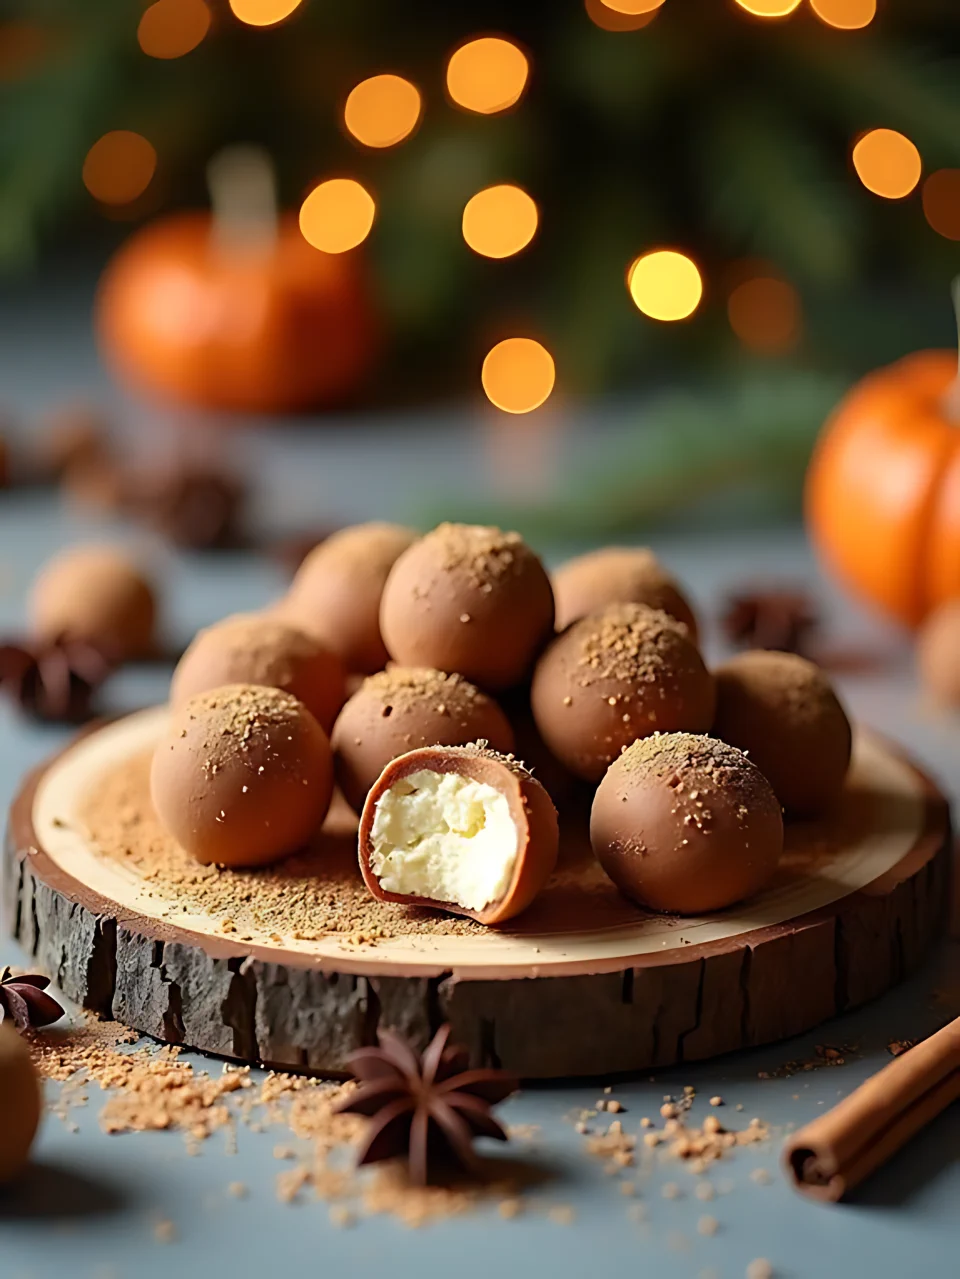
Pumpkin Spice Cheesecake Truffles are the perfect no-bake treat to brighten up your holiday gatherings! They’re easy to make and combine that delicious cheesecake flavor with the warm, cozy taste of pumpkin spice. Your family and friends will love these sweet bites!
Ingredients:
- 8 ounces of brick-style cream cheese, softened
- 1/4 cup of confectioners sugar
- 2 teaspoons of pumpkin spice
- 1 teaspoon of vanilla extract
- 1 1/2 cups of graham crumbs
- Optional: 1/2 cup cocoa powder for rolling
Instructions:
- In a large bowl, use a handheld mixer to beat the softened cream cheese until it’s nice and smooth.
- Add in the vanilla extract, confectioners sugar, and pumpkin spice, and mix until everything is well blended.
- Stir in 1 cup of graham crumbs, saving the remaining 1/2 cup for later use.
- Cover the bowl with plastic wrap and refrigerate the mixture for 1 hour to let it firm up.
- Once chilled, scoop out the mixture and roll it into small balls using your hands.
- Roll each ball in the reserved graham crumbs or cocoa powder to coat them evenly.
For best results, serve these truffles at room temperature, so let them sit out for about 5 minutes before enjoying. If you’re making a big batch, you can freeze them in a tightly sealed container for up to three months. Just remember to keep any different coatings separate to keep them looking nice!
Gingerbread Truffles

Gingerbread Truffles are a delightful holiday treat that brings the warm and cozy flavors of Christmas right to your kitchen. These little bites of goodness are perfect for sharing at festive gatherings or enjoying at home with family.
Ingredients:
- 1 cup gingersnap cookies, crushed
- 8 oz cream cheese, softened
- 1 tsp ground ginger
- 1/2 tsp ground cloves
- 1 cup chocolate chips (milk, semi-sweet, or dark)
- Reserved gingerbread crumbs (for decoration)
Instructions:
- Begin by pulsing the gingersnap cookies in a food processor with the ground ginger and ground cloves until they’re finely crushed.
- In a mixing bowl, combine the crushed cookie mixture with the softened cream cheese. Mix well until everything is combined.
- Refrigerate the mixture for about 30 minutes to make it easier to handle.
- Once chilled, roll the mixture into small balls, about 1 inch in diameter, and place them on a baking sheet.
- Refrigerate the rolled balls for an additional 60 minutes to firm them up.
- While the truffles are chilling, melt the chocolate chips in a microwave-safe bowl, stirring every 30 seconds until smooth.
- Using a toothpick, dip each ball into the melted chocolate, making sure to coat them completely. Let the excess chocolate drip off.
- Return the dipped truffles to the baking sheet and sprinkle them with reserved gingerbread crumbs for decoration.
- Place the truffles back in the refrigerator until the chocolate is set, about 30 minutes.
For a smoother finish, make sure your cream cheese is very soft before mixing, and don’t skip the chilling steps—they help the truffles hold their shape! You can also experiment with different types of chocolate to find your favorite flavor.
Red Velvet Cupcake Truffles
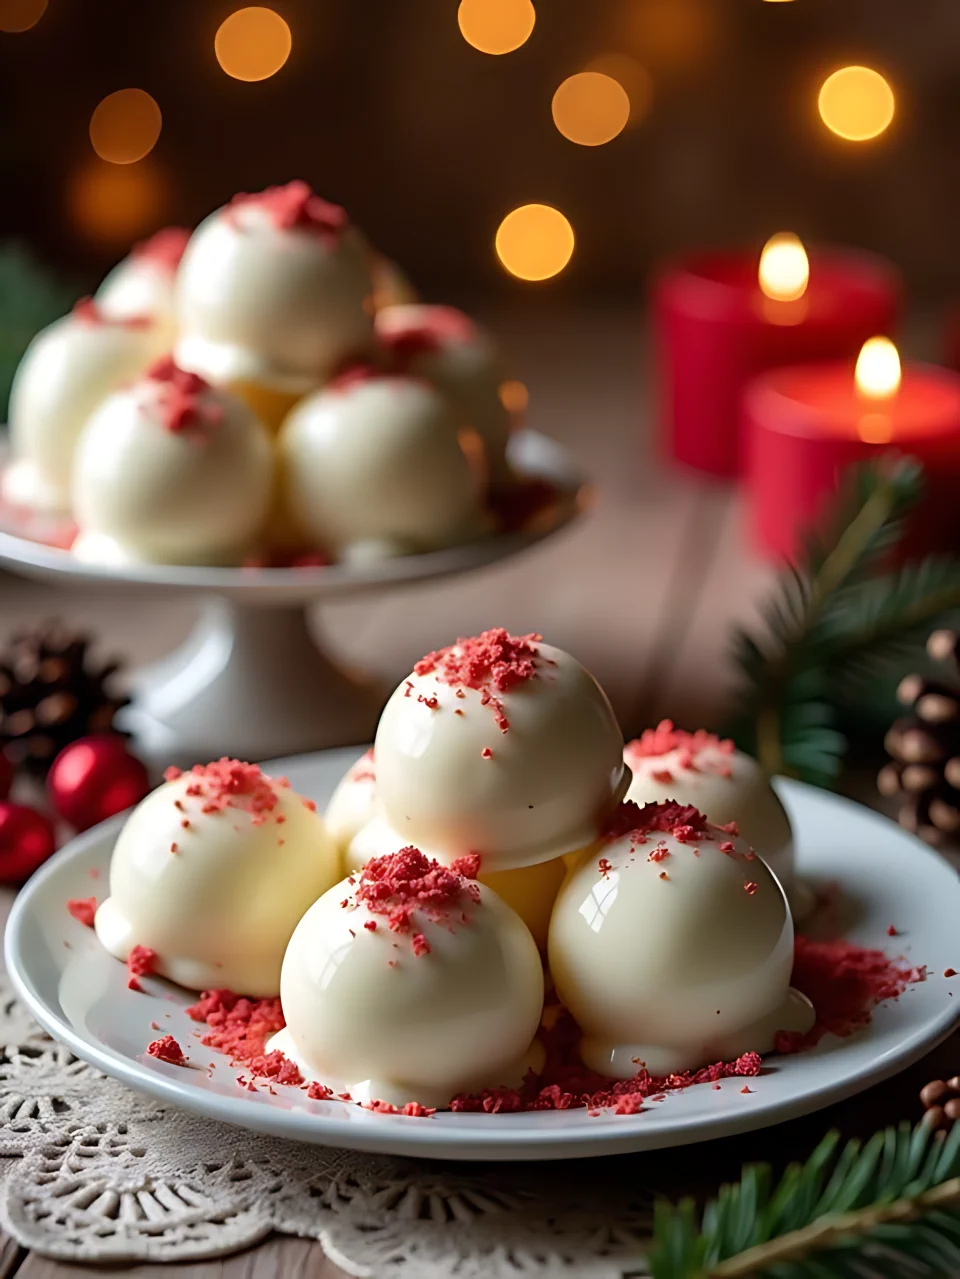
Red Velvet Cupcake Truffles are a delightful and easy treat that brings the festive flavors of red velvet cake in a fun, bite-sized form. With their creamy white chocolate coating and soft, sweet center, these truffles are perfect for holiday gatherings or as a special dessert for your loved ones.
Ingredients:
- 16 frosted red velvet cupcakes
- 2 cups white chocolate chips
- 1 teaspoon coconut oil
- Reserved frosting from cupcakes
- Crumbled red velvet cake base
Instructions:
- Start by deconstructing the red velvet cupcakes. Carefully separate the frosting from the cake base.
- Next, crumble the cake base by hand into small pieces. Be gentle to keep it light and airy—don’t use a food processor!
- Measure out 8 cups of the crumbled cupcake and mix it with 1 cup of the reserved frosting using a hand-held mixer. If the mixture feels too soft to handle, pop it in the fridge for about 30 minutes.
- Once firm, roll the mixture into small balls, about 1 inch in diameter.
- In a microwave-safe bowl, melt the white chocolate chips and coconut oil together until smooth, stirring every 30 seconds.
- Use toothpicks to dip each truffle into the melted chocolate. Insert the toothpick about 1/3 inch deep for easy handling.
- Dunk the truffle into the chocolate and swirl it around to coat completely. Tap the toothpick against the bowl’s rim to remove any excess chocolate.
- Place the dipped truffles on a parchment-lined baking tray. Smooth over any holes left by the toothpick with a little extra melted chocolate.
- For a decorative touch, sprinkle some leftover cupcake crumbs on top of the truffles before the chocolate sets.
Make sure to store your truffles in a food-safe container in the fridge. They taste best when allowed to sit at room temperature for about 5 minutes before serving. If you want to prepare them ahead of time, these truffles freeze wonderfully, so you can enjoy them even later!
Chocolate Coconut Balls
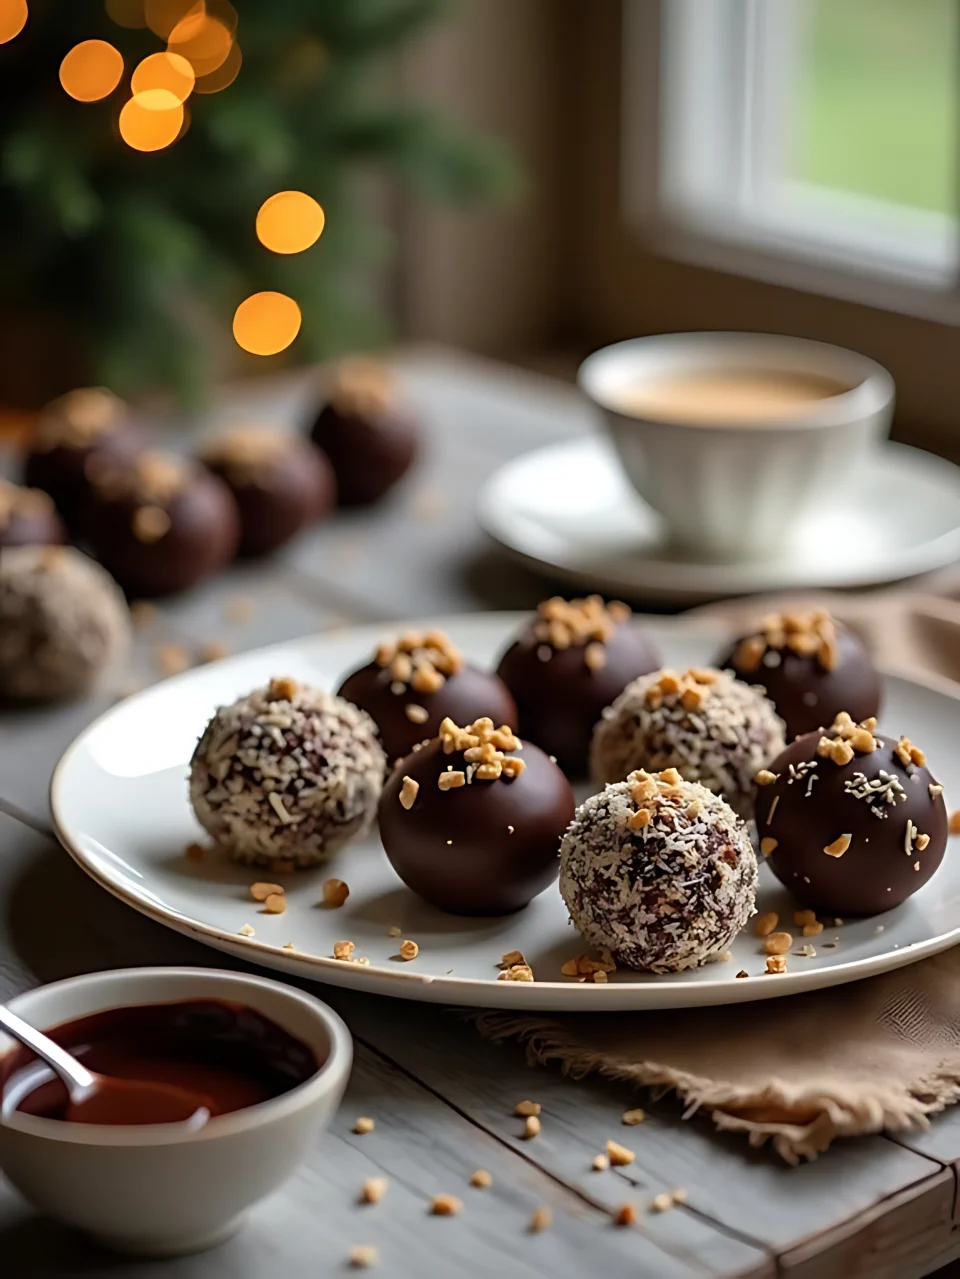
Chocolate Coconut Balls are a delightful no-bake treat that’s perfect for the holiday season! With their sweet, moist center and chocolate coating, they make a wonderful gift or dessert for any gathering. Plus, they’re super easy to make!
Ingredients:
- 1 (14-ounce) can of condensed milk
- ½ cup of unsalted or salted butter, at room temperature
- 1 teaspoon of vanilla extract
- 5 cups of unsweetened baking coconut
- 1 cup of confectioners sugar (or powdered sugar)
- 1 ½ cups of chocolate chips (for dipping)
- Optional: 1 teaspoon of almond extract
- Optional: Ground peanuts for added texture
Directions:
- In a large bowl, whisk together the condensed milk, melted butter, and vanilla extract until everything is well combined.
- Gradually mix in the coconut and confectioners sugar, making sure it’s all evenly incorporated.
- Chill the mixture in the refrigerator for about 15 minutes to make it easier to handle.
- Once chilled, take small portions of the mixture and roll them into balls, about 1 inch in size.
- Melt the chocolate chips in a double boiler until smooth.
- Dip each coconut ball into the melted chocolate, making sure they’re completely covered.
- Place the dipped balls on a baking sheet lined with parchment paper.
- If desired, sprinkle some reserved coconut or ground peanuts on top of the chocolate before it sets.
- Allow the chocolate to harden, either at room temperature or in the refrigerator for quicker results.
For best results, make sure to measure all your ingredients accurately. These Chocolate Coconut Balls can be stored in the freezer, which can help enhance their flavor and texture.
Sour Cream Donut Truffles
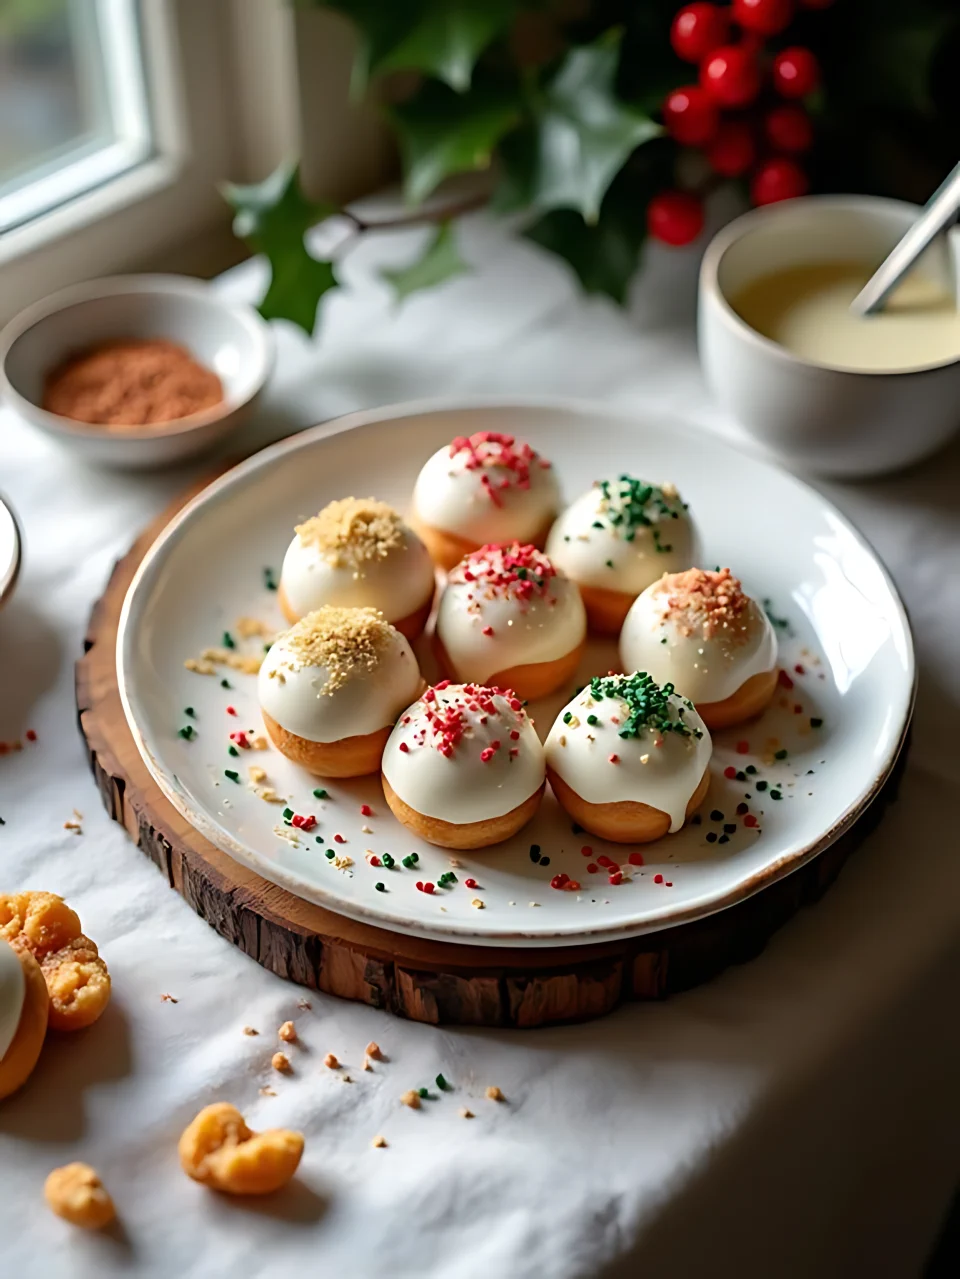
Sour Cream Donut Truffles are a delightful treat that’s perfect for the holiday season! These little bites of joy are easy to make and will surely impress family and friends. With their creamy center and sweet white chocolate coating, they make a fantastic addition to any festive gathering.
Ingredients:
- 4 Sour Cream Glazed Donuts (old-fashioned or vanilla glazed)
- 8 oz brick-style cream cheese, softened
- 8 oz high-quality white chocolate, melted
- 1 tablespoon coconut oil (to thin chocolate)
- Festive sprinkles (for topping)
Instructions:
- Start by crumbling the donuts into a large bowl using your hands. Make sure to break them into small pieces for the best texture.
- Add the softened cream cheese to the crumbled donuts and mix until smooth and well combined.
- Roll the mixture into small balls, about the size of a tablespoon, and place them on a baking sheet lined with parchment paper.
- Refrigerate the donut balls for about 30 minutes until they’re firm.
- In a microwave-safe bowl, melt the white chocolate and coconut oil together in 30-second intervals, stirring until smooth.
- Using a toothpick, dip each chilled donut ball into the melted chocolate, allowing any excess chocolate to drip off.
- Place the coated truffles back onto the baking sheet and immediately sprinkle with festive sprinkles before the chocolate sets.
- Let the truffles sit at room temperature for a few minutes to allow the chocolate to harden.
For best results, make sure to handle the melted chocolate carefully so it remains smooth. If you find your chocolate getting too thick, just add a little more coconut oil to thin it out. These truffles are best enjoyed at room temperature, so let them sit out for about 5 minutes before serving for an extra burst of flavor!
Holiday Buttercream Truffles
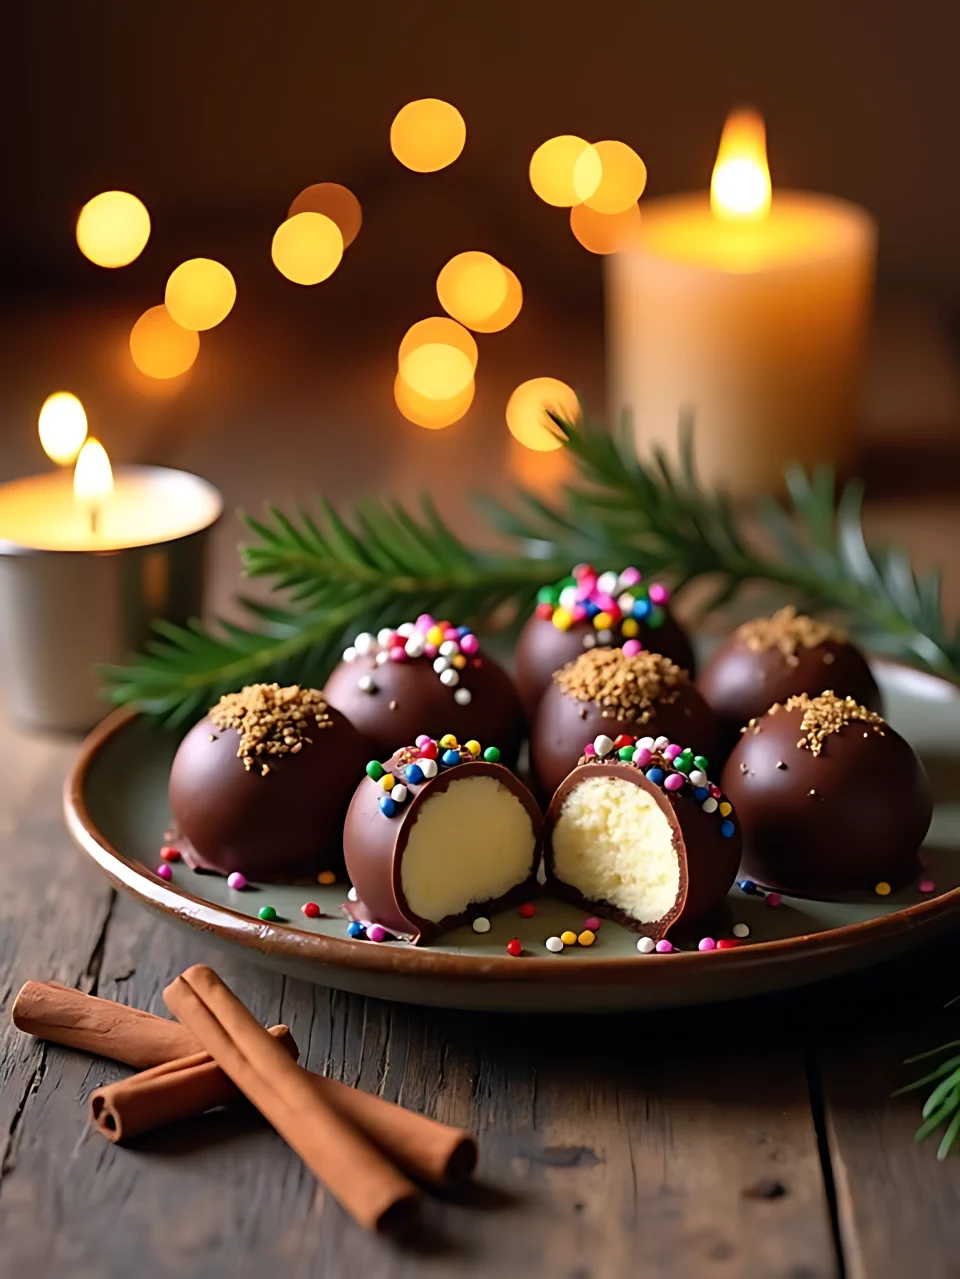
Holiday Buttercream Truffles are the perfect treat for the festive season! They’re rich, creamy, and dipped in delicious milk chocolate, making them a delightful addition to any holiday gathering.
Ingredients:
- 8 oz brick-style cream cheese, softened
- 1/2 cup salted butter, softened (or unsalted)
- 2 cups confectioners sugar
- 1 teaspoon vanilla extract (or other extracts for flavor)
- 2 cups milk chocolate chips
- 1 tablespoon vegetable shortening (optional, for thinning chocolate)
- Sprinkles or garnishes (optional)
Instructions:
- In a mixing bowl, combine the softened cream cheese, salted butter, and vanilla extract. Beat until smooth and creamy.
- Gradually add the confectioners sugar, mixing well until fully combined and fluffy.
- Cover the bowl and refrigerate the mixture for at least 2 hours, or until firm enough to handle.
- Once chilled, use a small cookie scoop or your hands to form small balls (about 1 inch in diameter) and place them on a parchment-lined tray.
- Place the formed truffles back in the refrigerator for about 30 minutes to firm up while you prepare the chocolate coating.
- In a microwave-safe bowl, melt the milk chocolate chips and vegetable shortening (if using) in 30-second intervals, stirring in between until smooth.
- Using two toothpicks, dip each truffle into the melted chocolate, making sure it’s evenly coated. Tap off any excess chocolate.
- Place the dipped truffles back on the parchment-lined tray and immediately add sprinkles or garnishes if desired.
- Let the truffles sit at room temperature for about 30 minutes to set, or refrigerate for quicker hardening.
When making these truffles, don’t hesitate to get creative with flavors by adding different extracts or garnishes! Remember to allow the truffles to come to room temperature before serving; this will enhance their creamy texture and flavor.
Chocolate Cheesecake Truffles
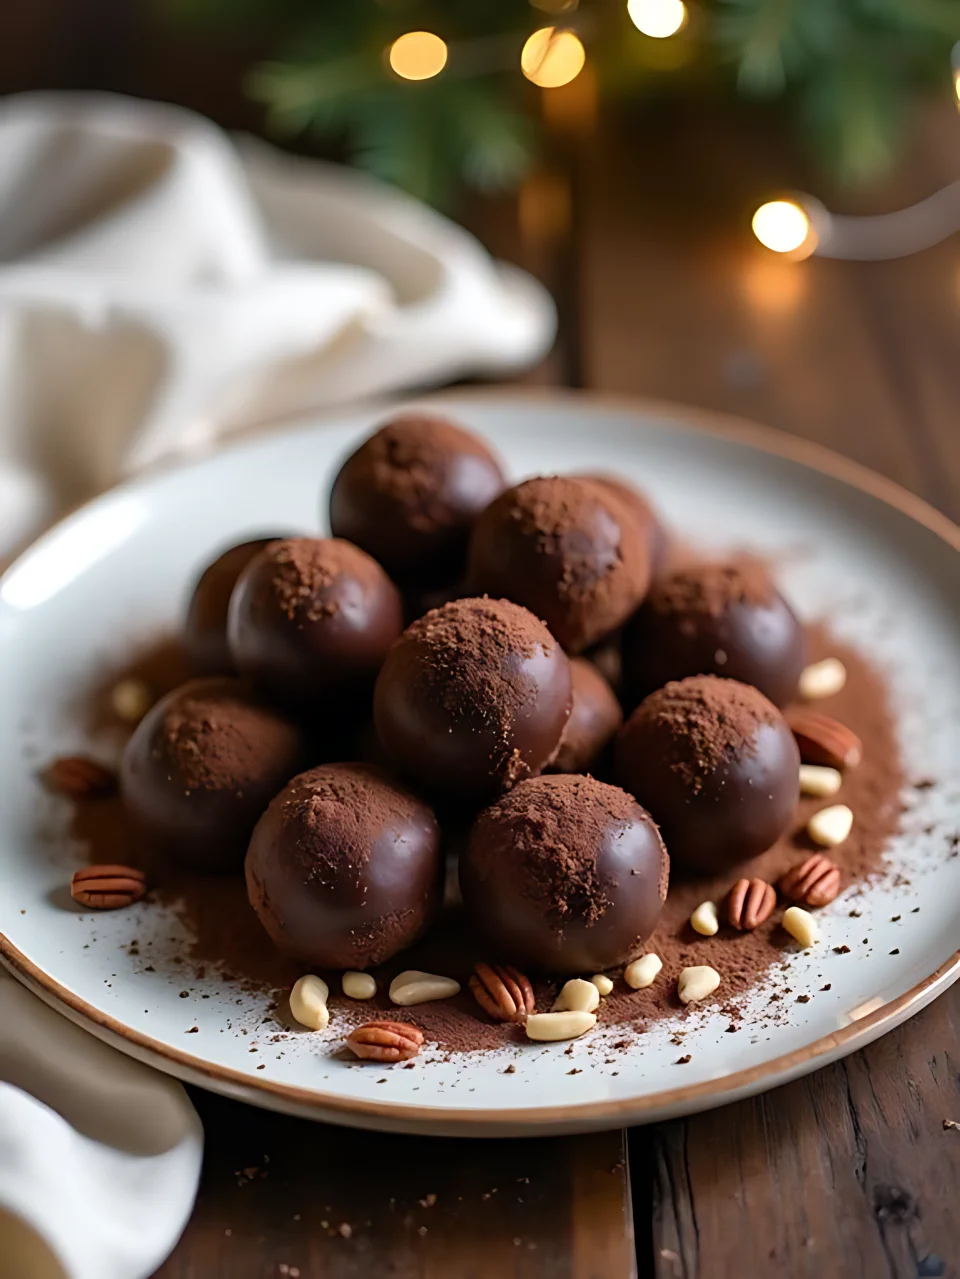
Chocolate Cheesecake Truffles are a delightful treat that’s perfect for any gathering or special occasion. These rich and creamy bites aren’t only delicious but also easy to make, so you can whip them up in no time.
Ingredients:
- 8 ounces of cream cheese
- 4 cups of powdered sugar
- 5 ounces of melted bittersweet dark chocolate (70% cacao)
- 1 teaspoon of vanilla extract
- Optional coatings: toasted pecans, flaked coconut, cocoa powder, or other nuts
Instructions:
- In a mixing bowl, combine the cream cheese and powdered sugar. Use a mixer to blend them together until smooth and creamy.
- Next, add in the melted chocolate and vanilla extract. Mix everything together until the mixture is nice and smooth.
- Cover the bowl and chill the mixture in the refrigerator for at least 4 hours. This helps it firm up.
- Once chilled, take the mixture out and shape it into 1-inch balls. If it’s too soft to shape, pop it back in the fridge for a bit longer.
- Roll the truffles in your choice of coatings, like toasted pecans or cocoa powder, until they’re well covered.
- Place the finished truffles on a plate or in a container and refrigerate them until you’re ready to serve.
To make your truffles even better, you can add toasted coconut for a little extra flavor. These truffles can be made a few days in advance, so feel free to prepare them ahead of time! Just make sure to keep them covered and chilled until it’s time to enjoy.
White Chocolate Raspberry Truffles
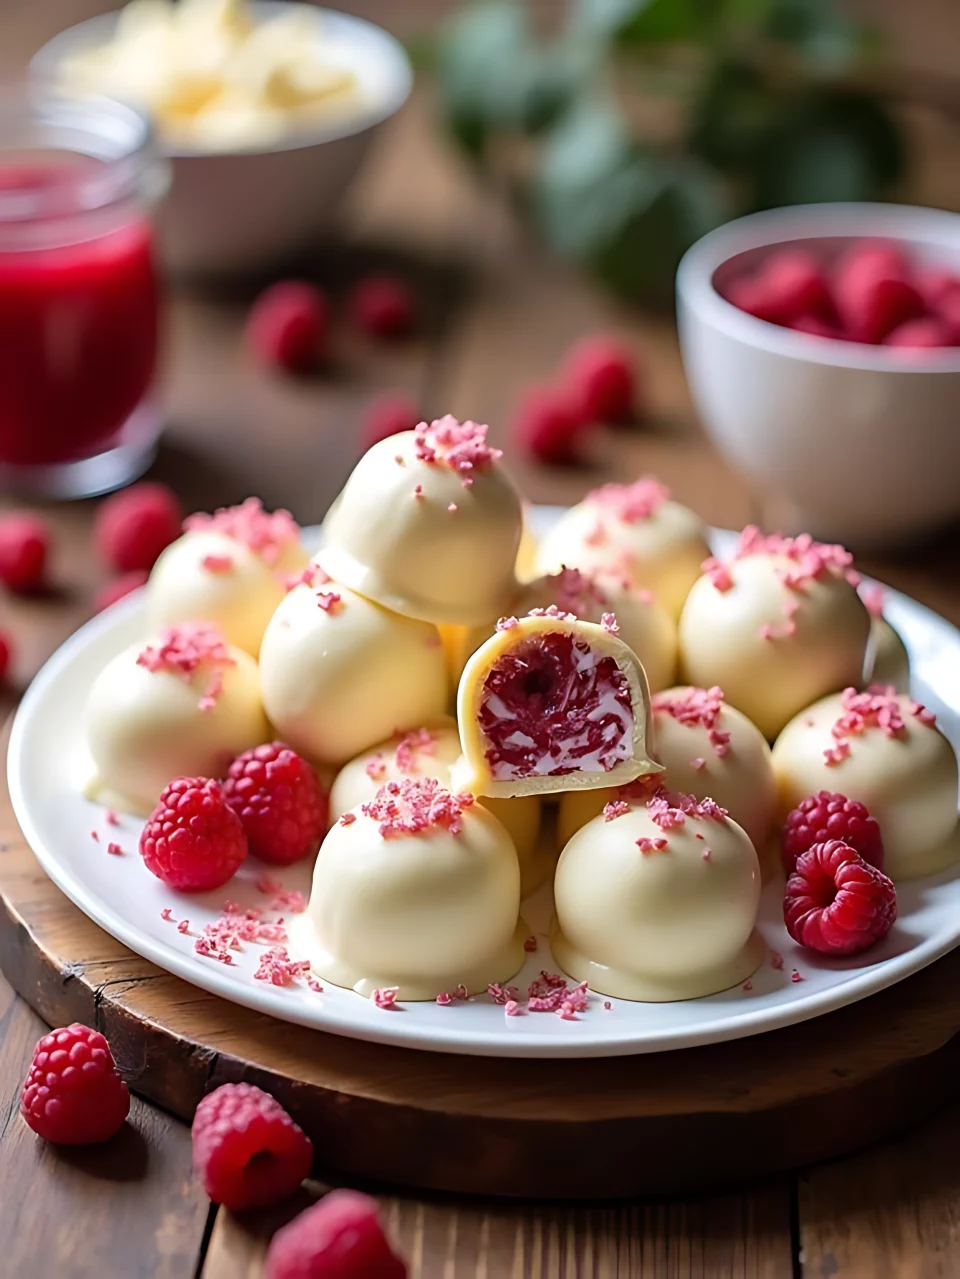
White Chocolate Raspberry Truffles are a delightful treat that combines the creamy sweetness of white chocolate with the tartness of raspberry. These no-bake truffles aren’t only easy to make, but they also bring back fond memories of creating sweet treats with friends.
Ingredients:
- 1.5 cups white chocolate chips
- 2 tablespoons heavy cream
- 1 tablespoon butter
- 2 tablespoons seedless raspberry jam
- Optional: 1/4 teaspoon raspberry extract
- Additional white chocolate chips for coating
- Shortening (if needed for coating)
Directions:
- In a medium-sized heavy-gauge saucepan, combine the white chocolate chips, heavy cream, and butter.
- Heat over low heat, stirring until the mixture is smooth and melted.
- Once melted, remove from heat and stir in the seedless raspberry jam.
- If you want a stronger raspberry flavor, add the raspberry extract.
- Cover the mixture with plastic wrap and place it in the freezer for about 20 minutes to firm up.
- After 20 minutes, use a mini scooper or your hands to drop spoonfuls of the mixture onto a foil-lined cookie sheet, or shape them into small balls.
- In a heat-resistant mixing bowl, melt additional white chocolate chips and a bit of shortening over simmering water for coating.
- Once melted, dip each frozen truffle into the melted chocolate, ensuring they’re fully coated.
- Place them back onto the cookie sheet.
- Chill the truffles in the refrigerator until the chocolate coating is set.
For the best flavor, remember to let your truffles sit at room temperature for a few minutes before enjoying them. This allows the flavors to really shine through! You can also drizzle some melted white chocolate over the top for a beautiful finishing touch.
Caramel Truffles
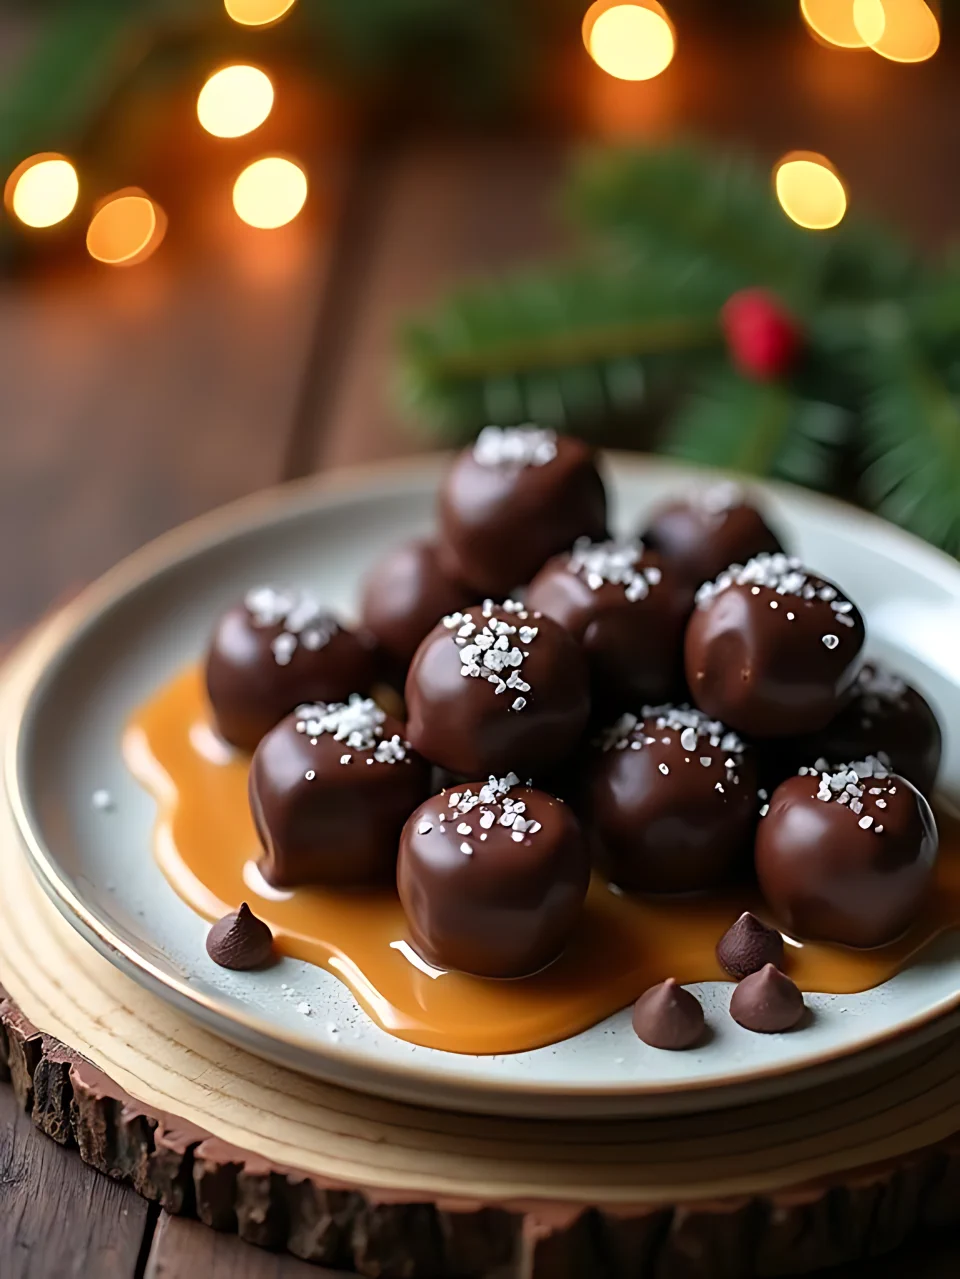
Caramel truffles are a delightful treat that bring a touch of sweetness to any holiday gathering! They’re easy to make and are sure to impress your family and friends.
Ingredients:
- 1 cup caramels
- 1 cup milk chocolate chips
- 1/2 cup heavy cream
- Extra melted chocolate for coating
Instructions:
- In a microwave-safe bowl, combine the caramels and milk chocolate chips.
- Microwave the mixture in 30-second intervals, stirring frequently, until smooth and melted.
- Once melted, stir in the heavy cream until well combined and creamy.
- Pour the mixture into a lined pan and spread it out evenly.
- Refrigerate for 1 hour to let it set.
- After it has cooled, cut the mixture into small pieces and roll them into balls with your hands.
- Place the truffle balls on a baking sheet and refrigerate again for about 30 minutes.
- Melt some additional chocolate in the microwave and dip each truffle in, allowing any excess to drip off.
- Place the coated truffles back on the baking sheet and let them set.
To make your caramel truffles even more special, consider adding a sprinkle of sea salt on top of the chocolate coating for a delicious contrast! Also, remember to store them in an airtight container in the fridge to keep them fresh for up to three weeks.
Cinnamon Roll Truffles
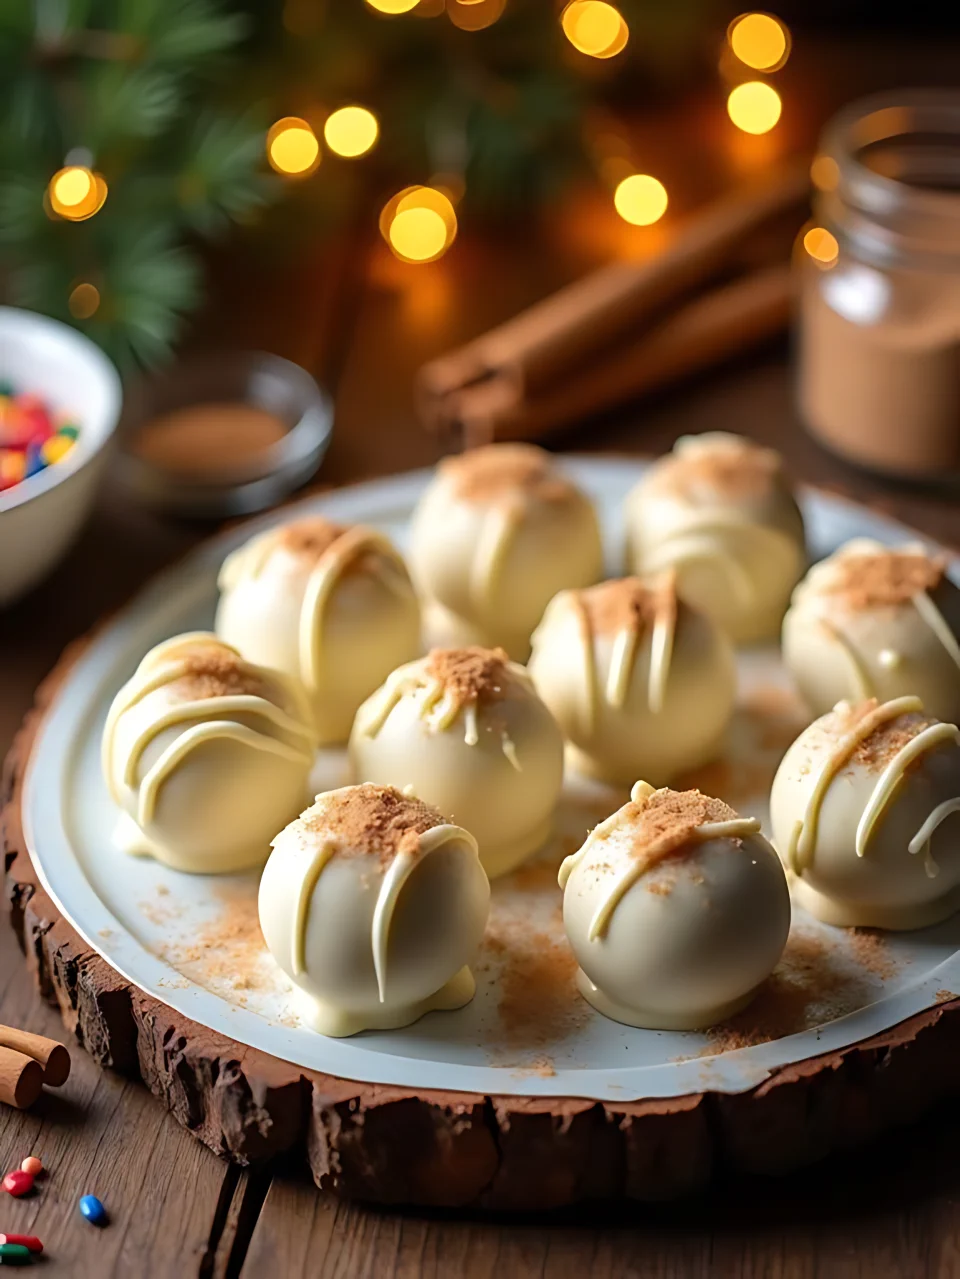
Cinnamon Roll Truffles are the perfect sweet treat to bring joy to your holiday gatherings! These delightful bite-sized snacks combine the flavors of cinnamon rolls with creamy frosting and are coated in rich white chocolate. They’re simple to make and sure to impress your friends and family.
Ingredients:
- 6 cupcakes (any flavor you like)
- 1 cup cream cheese frosting
- 1 teaspoon ground cinnamon
- 1 cup white chocolate chips
- Optional toppings: extra cinnamon, sprinkles, or chocolate drizzle
Instructions:
- Preheat your oven to 350 degrees Fahrenheit and bake your cupcakes according to package instructions. Let them cool completely after baking.
- Once the cupcakes are cool, crumble them into fine crumbs in a mixing bowl.
- Add the cream cheese frosting and ground cinnamon to the crumbled cupcakes. Mix well using a fork or your hands until it forms a solid dough.
- Scoop out small amounts of the dough and roll them into balls. Place each ball on a cookie sheet.
- Chill the dough balls in the refrigerator for about 30 minutes to firm them up.
- While the dough is chilling, melt the white chocolate chips using a double boiler. Make sure to stir until it’s nice and smooth.
- After the dough balls have chilled, dip each one into the melted chocolate using a fork. Tap the fork on the edge of the bowl to remove any excess chocolate.
- Place the coated truffles back on the cookie sheet and chill in the fridge for another 10 minutes to let the chocolate set.
- If you have leftover melted chocolate, drizzle it over the cooled truffles and sprinkle with a bit of cinnamon for extra flair.
These Cinnamon Roll Truffles are a wonderful treat that can be enjoyed right away or stored for later. Make sure to keep them in an airtight container to stay fresh! Feel free to get creative with the toppings or try different flavors of frosting to make them your own.
No-Bake Oreo Truffles

Oreo truffles are a fun and easy treat to make, perfect for any holiday gathering or just a sweet snack at home! With only a few ingredients and no baking required, you can whip these up in no time.
Ingredients:
- 1 package of Oreos (about 36 cookies)
- 8 ounces of cream cheese, softened
- 16 ounces of melting chocolate (or chocolate chips)
- Optional: sprinkles or crushed Oreos for decoration
Instructions:
- Crush the Oreos: Use a food processor to crush the Oreos into fine crumbs. If you don’t have a food processor, you can place them in a zip-top bag and crush them with a rolling pin.
- Mix Ingredients: In a large bowl, combine the Oreo crumbs and softened cream cheese. Mix until well combined and you have a dough-like consistency.
- Form Balls: Roll the mixture into 1-inch balls and place them on a baking sheet lined with wax paper.
- Chill: Freeze the Oreo balls for about 30 minutes to firm them up.
- Dip in Chocolate: Melt the chocolate in a microwave-safe bowl, heating it in 30-second intervals until smooth. Dip each chilled Oreo ball into the melted chocolate, making sure to coat it completely, then place it back on the wax paper.
- Decorate: If you want, sprinkle some crushed Oreos or sprinkles on top of the chocolate before it hardens.
- Chill Again: Let the dipped truffles sit in the fridge for about 10 minutes to set.
For the best Oreo truffles, make sure to keep everything dry and avoid moisture, as it can ruin the chocolate coating. If you want to make them extra special, try using colored melting chocolate for a festive touch!
Rum Balls
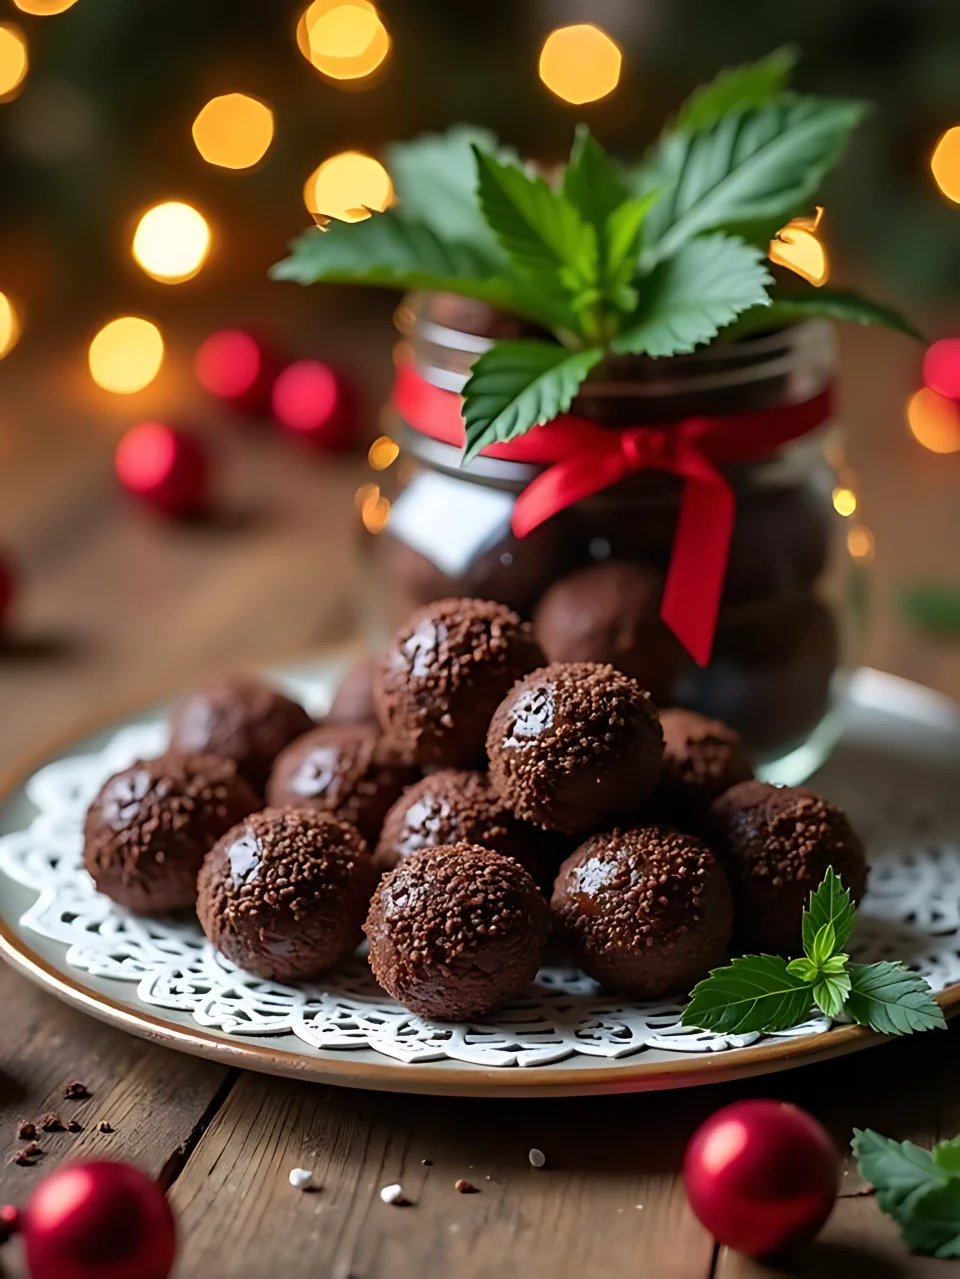
Rum balls are a delicious and festive treat that can bring a touch of joy to your holiday gatherings. They’re easy to make, and their rich chocolate flavor combined with a hint of rum makes them a favorite for many. Plus, they can be made ahead of time, which is always a bonus during the busy holiday season!
Ingredients:
- 1 box chocolate cake mix (or homemade chocolate cake)
- 1/2 cup dark rum or spiced bourbon
- 1 can (14 oz) sweetened condensed milk
- Chocolate sprinkles (for rolling)
Instructions:
- Start by baking the chocolate cake according to the package instructions or your favorite homemade recipe, then let it cool completely.
- Once cooled, crumble the cake into a large mixing bowl until it resembles fine crumbs.
- Add the dark rum (or spiced bourbon) and the sweetened condensed milk to the crumbled cake, mixing until a dough forms.
- Refrigerate the dough for about 30 minutes to make it easier to handle.
- With your hands slightly wet, scoop out portions of the dough and roll them into one-inch balls.
- Roll each ball in chocolate sprinkles until fully coated.
- Place the rum balls on a baking sheet and freeze them individually for about an hour.
- Once frozen, transfer the rum balls to a sealed container and store them in the refrigerator for a few days to let the flavors meld before serving.
For the best flavor, try using high-quality dark rum or spiced bourbon. You can also add chopped nuts like walnuts for extra texture.
Cranberry Pistachio White Chocolate Truffles
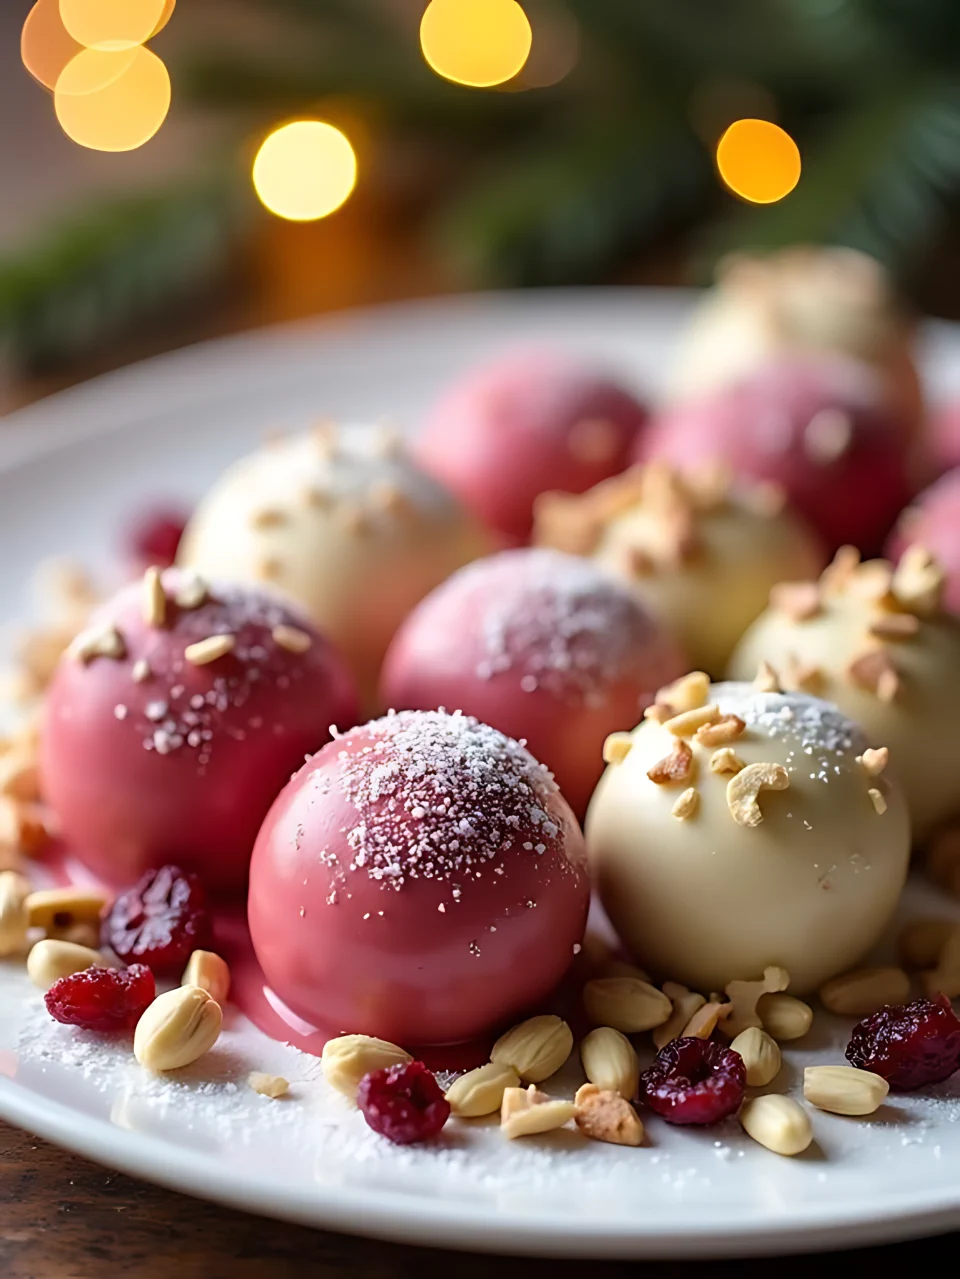
If you’re looking for a festive treat to share with family and friends this holiday season, these Cranberry Pistachio White Chocolate Truffles are just perfect! They’re not only delicious but also look beautiful with their bright colors. Plus, they’re easy to make and can be prepared ahead of time!
Ingredients:
- 11 oz. white chocolate (chopped into small pieces)
- 5 tablespoons unsalted butter
- 3 tablespoons heavy cream
- 1/3 cup finely chopped dried cranberries
- 1/3 cup finely chopped toasted pistachios
- Powdered sugar for coating
Instructions:
- In a saucepan, melt the butter and heavy cream over low-medium heat until fully combined.
- Remove the saucepan from heat and add the chopped white chocolate. Stir until the chocolate is smooth and melted.
- Let the mixture cool for a few minutes, then stir in the chopped cranberries and pistachios.
- Cover the mixture and refrigerate it for 2-3 hours until it’s firm.
- Once firm, use your hands to roll the mixture into small balls.
- Roll each ball in powdered sugar to coat them evenly before serving.
For best results, remember to keep your kitchen cool while working with the truffles, as warm hands can make the mixture soften too much. If the mixture feels too hard, let it sit at room temperature for a few minutes before shaping.
Lava Cake Truffles
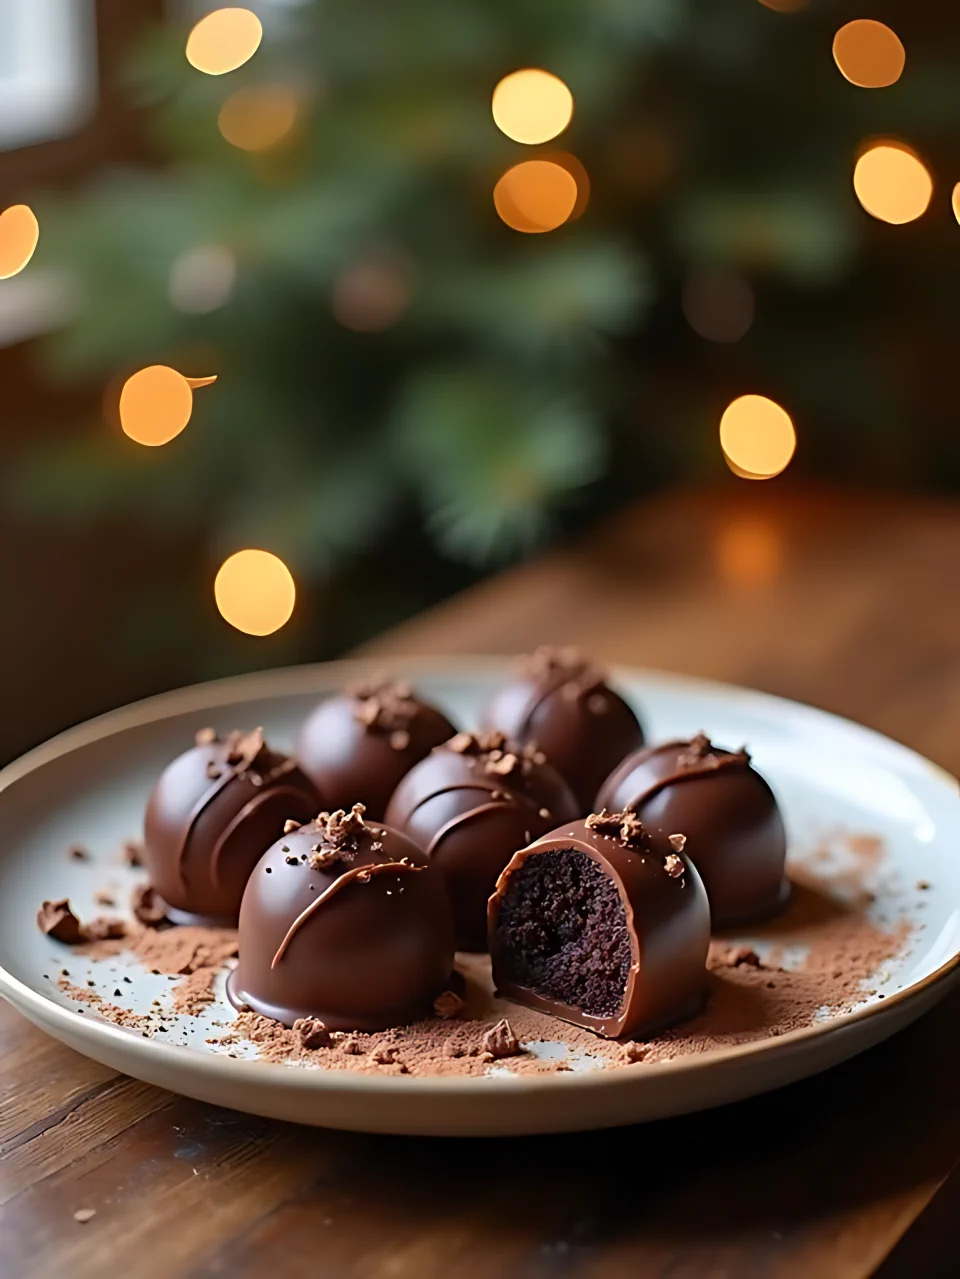
Lava Cake Truffles are the perfect sweet treat to make for the holidays or any special occasion. They’re rich, chocolatey, and have a gooey center that makes everyone go “wow!”
Ingredients
- 1/2 cup (3 ounces) chopped semisweet chocolate
- 1/2 cup heavy cream
- 1 pound (about 4 cups) chocolate cake crumbs (from half of a 9 x 13-inch cake)
- 1/2 to 3/4 cup prepared chocolate frosting
- 1 pound milk chocolate candy coating
- 3 ounces dark chocolate candy coating (optional for decoration)
Instructions
- First, gather all your ingredients on the counter so you have everything ready to go.
- To make the ganache, heat the heavy cream in a saucepan until it starts to boil. Then pour it over the chopped semisweet chocolate.
- Let it sit for about 1 minute, then whisk it until it’s smooth and shiny. Once done, cover it with cling wrap and refrigerate until firm (about 90 minutes). You can also speed this up by spreading it on a baking sheet for about 30 minutes.
- After the ganache is firm, roll it into small balls (you should get about 36). Place them back in the fridge for another 30 minutes.
- While the ganache is chilling, mix the chocolate cake crumbs with 1/2 cup of chocolate frosting in a bowl. Use your hands to mix until you get a moist and cohesive texture. If it’s too dry, you can add more frosting.
- Form the cake mixture into 1-inch balls. Then take a ganache ball and insert it into each cake ball, rolling it to make it round again.
- Put the assembled truffles back in the fridge until they’re firm enough to dip (about 30 minutes).
- Melt the milk chocolate candy coating until it’s smooth and ready for dipping. Dip each truffle in the melted coating and place them back on a baking sheet.
- If you want to add a fun decoration, melt the dark chocolate and drizzle it over the truffles using a plastic bag.
- Let the coating set completely before serving.
For the best flavor, store your lava cake truffles in an airtight container in the fridge for up to two weeks. When you’re ready to enjoy them, let them sit out for a little while to come to room temperature, which will make the ganache inside extra gooey and delicious!
Christmas Pudding Chocolate Truffles

Christmas Pudding Chocolate Truffles are the perfect treat to make during the festive season. These delightful little bites look like traditional Christmas puddings and are sure to impress your family and friends. Plus, they’re quite simple to prepare, making them a great option for gifts or holiday parties!
Ingredients:
- 200g milk chocolate
- 200g dark chocolate (70% cocoa content or higher)
- 100ml double cream
- Mini holly leaves (for decoration)
- White icing (for drizzling)
- A pinch of salt
Instructions:
- Begin by finely chopping the milk and dark chocolate and place it into a heatproof bowl.
- In a small saucepan, gently heat the double cream over medium heat until it just begins to simmer. Be careful not to let it boil!
- Once the cream is hot, pour it over the chopped chocolate and let it sit for a minute to melt.
- Stir the mixture until it becomes smooth and glossy. Add a pinch of salt to enhance the flavor.
- Cover the bowl with cling film and place it in the fridge for about 2 hours, or until the mixture is firm enough to handle.
- Once chilled, use a melon baller or your hands to scoop out small amounts of the chocolate mixture and roll them into balls.
- Place the truffles on a tray lined with parchment paper.
- Melt the remaining milk chocolate and dip each truffle into it, ensuring they’re fully coated.
- Drizzle white icing over the topped truffles and decorate with mini holly leaves for a festive touch.
- Let the truffles set on the tray for about 30 minutes before serving or packaging as gifts.
For best results, chill the truffles overnight to enhance their flavor and texture. You can also experiment with different flavors by adding a splash of rum, whisky, or mint extract to the chocolate mixture!
Nutella Hazelnut Chocolate Truffles

These Nutella Hazelnut Chocolate Truffles are a delightful treat that everyone will love! They’re perfect for holiday gatherings or as sweet gifts for friends and family. With just four ingredients, they’re super easy to make, too!
Ingredients:
- 200 grams (1 and 1/3 cup) good quality dark chocolate
- 120 ml (1/2 cup) thickened or heavy cream
- 300 grams (1 cup) Nutella
- 120 grams (1 cup) skinless hazelnuts
- Optional toppings: cocoa powder, chopped nuts, or sprinkles
Instructions:
- In a medium bowl, combine the Nutella and heavy cream. Mix until smooth.
- Heat the cream in a small saucepan over low heat until it’s warm but not boiling.
- Pour the warm cream over the chopped dark chocolate in a separate bowl. Whisk until the chocolate is melted and the mixture is smooth.
- Gently fold the Nutella mixture into the chocolate mixture until fully combined.
- Cover the bowl and refrigerate the mixture for about 1-2 hours, or until firm enough to handle.
- Once the mixture is firm, use your hands to roll small balls of the chocolate mixture into truffles.
- If desired, roll the truffles in crushed hazelnuts, cocoa powder, or sprinkles for added texture and flavor.
- Place the finished truffles on a tray and refrigerate them for an additional 2-3 hours until fully set.
- Store the truffles in an airtight container in the refrigerator for up to 5 days.
Remember to use good quality chocolate for the best flavor! If the truffles are too soft, just pop them back in the fridge for a bit longer. You can also get creative with the toppings—feel free to mix it up! Enjoy making these delicious treats!
More Christmas Truffle Recipes
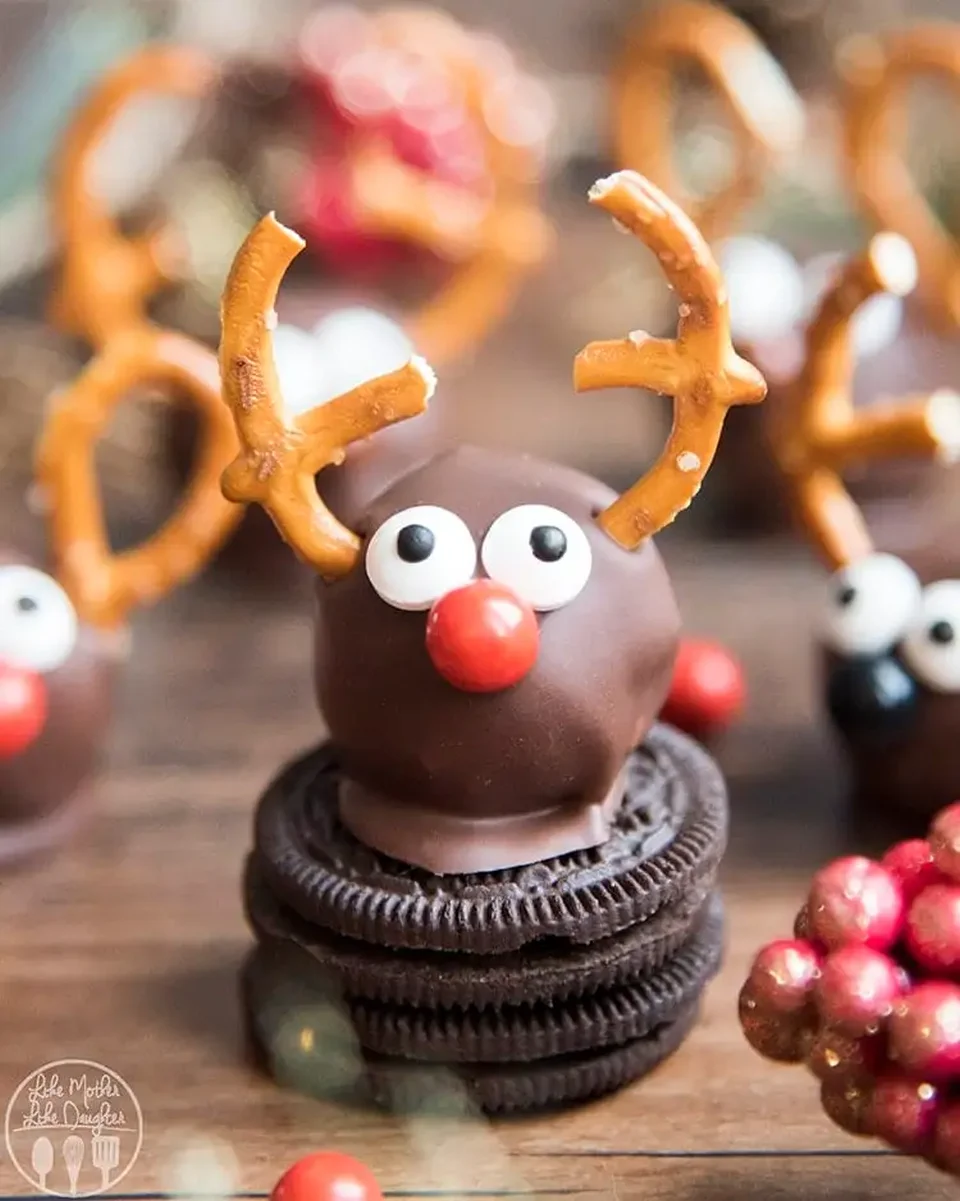
Reindeer Oreo Truffles
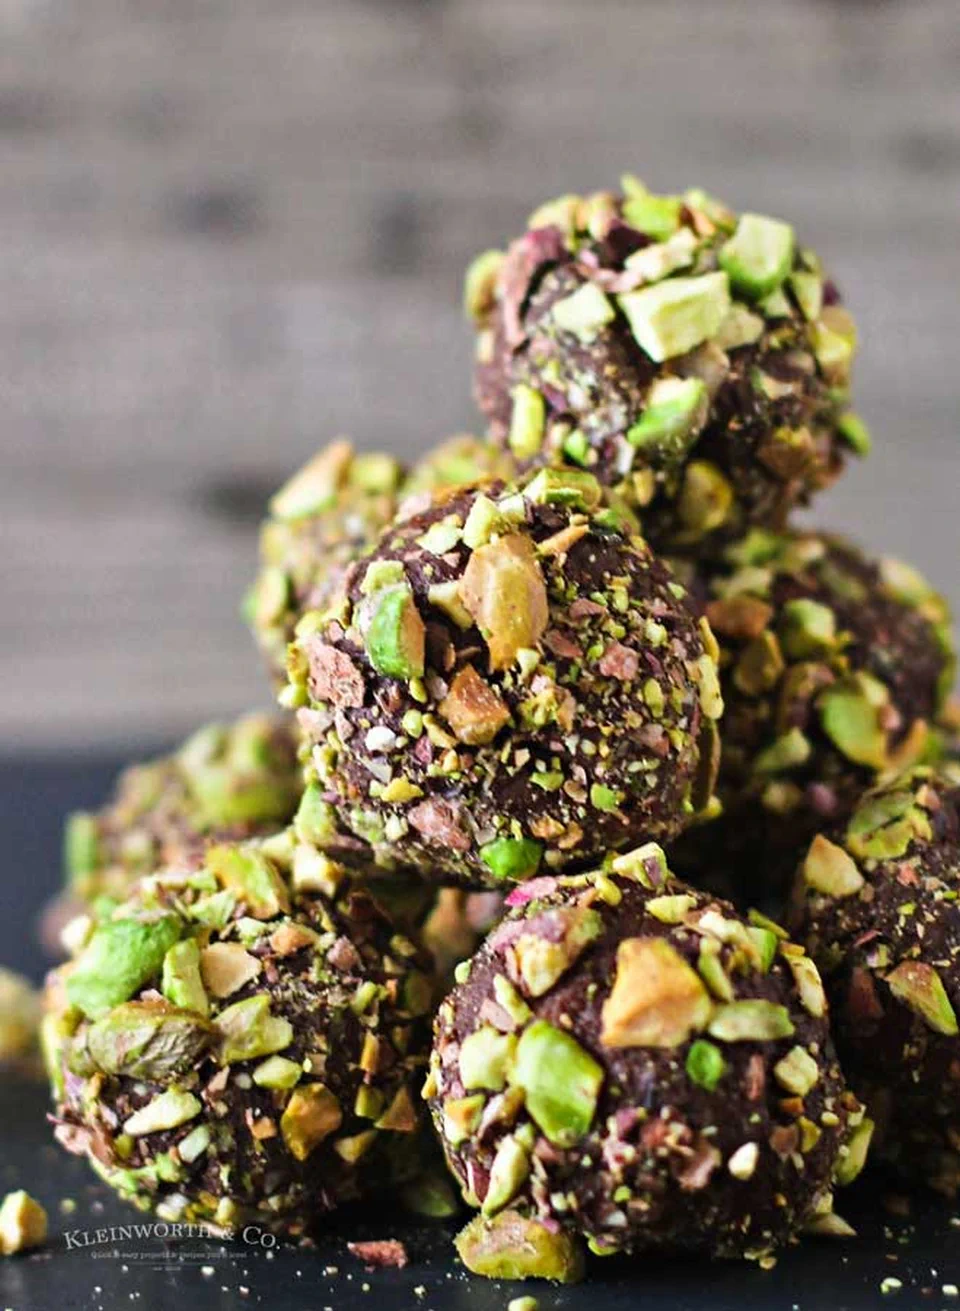
Dark Chocolate Pistachio Truffles
Apple Sauce Truffles
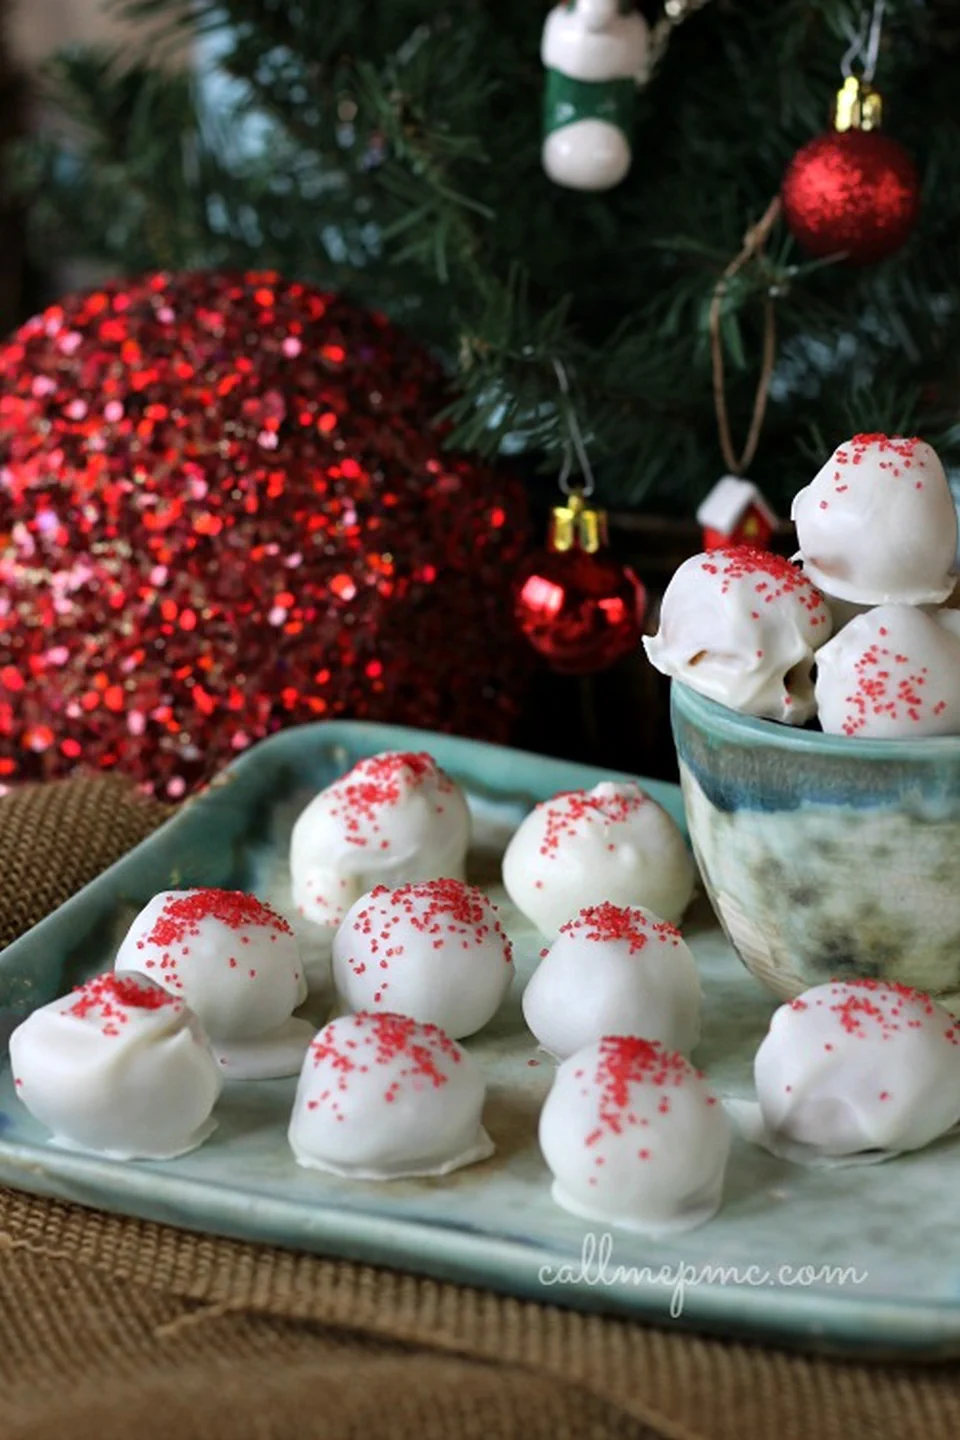
Pumpkin Cream Cheese Truffles
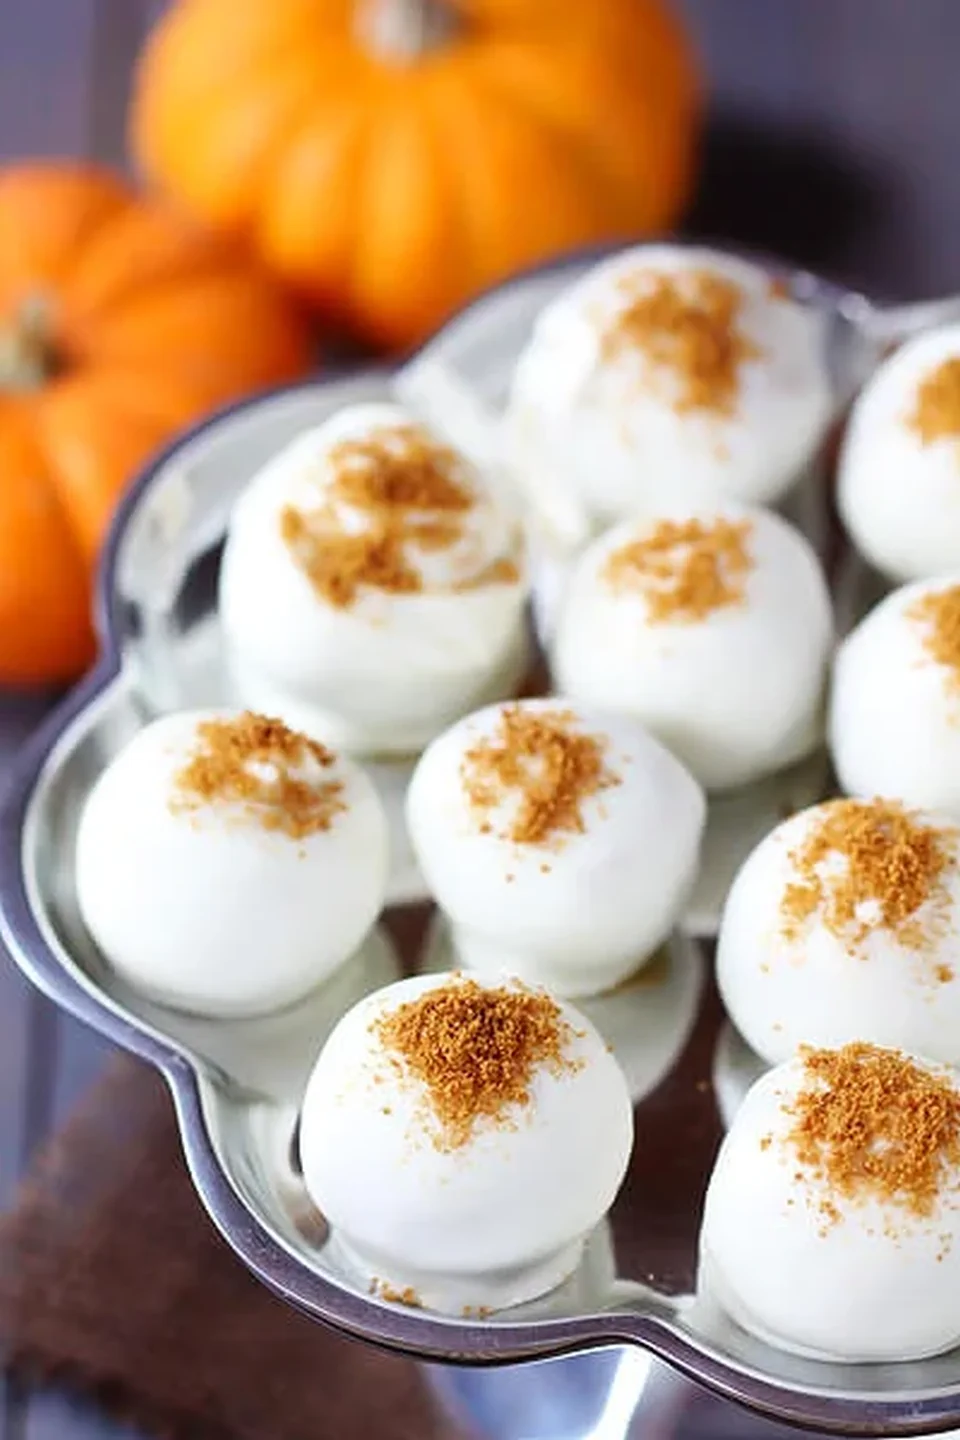
Chocolate Espresso Truffles
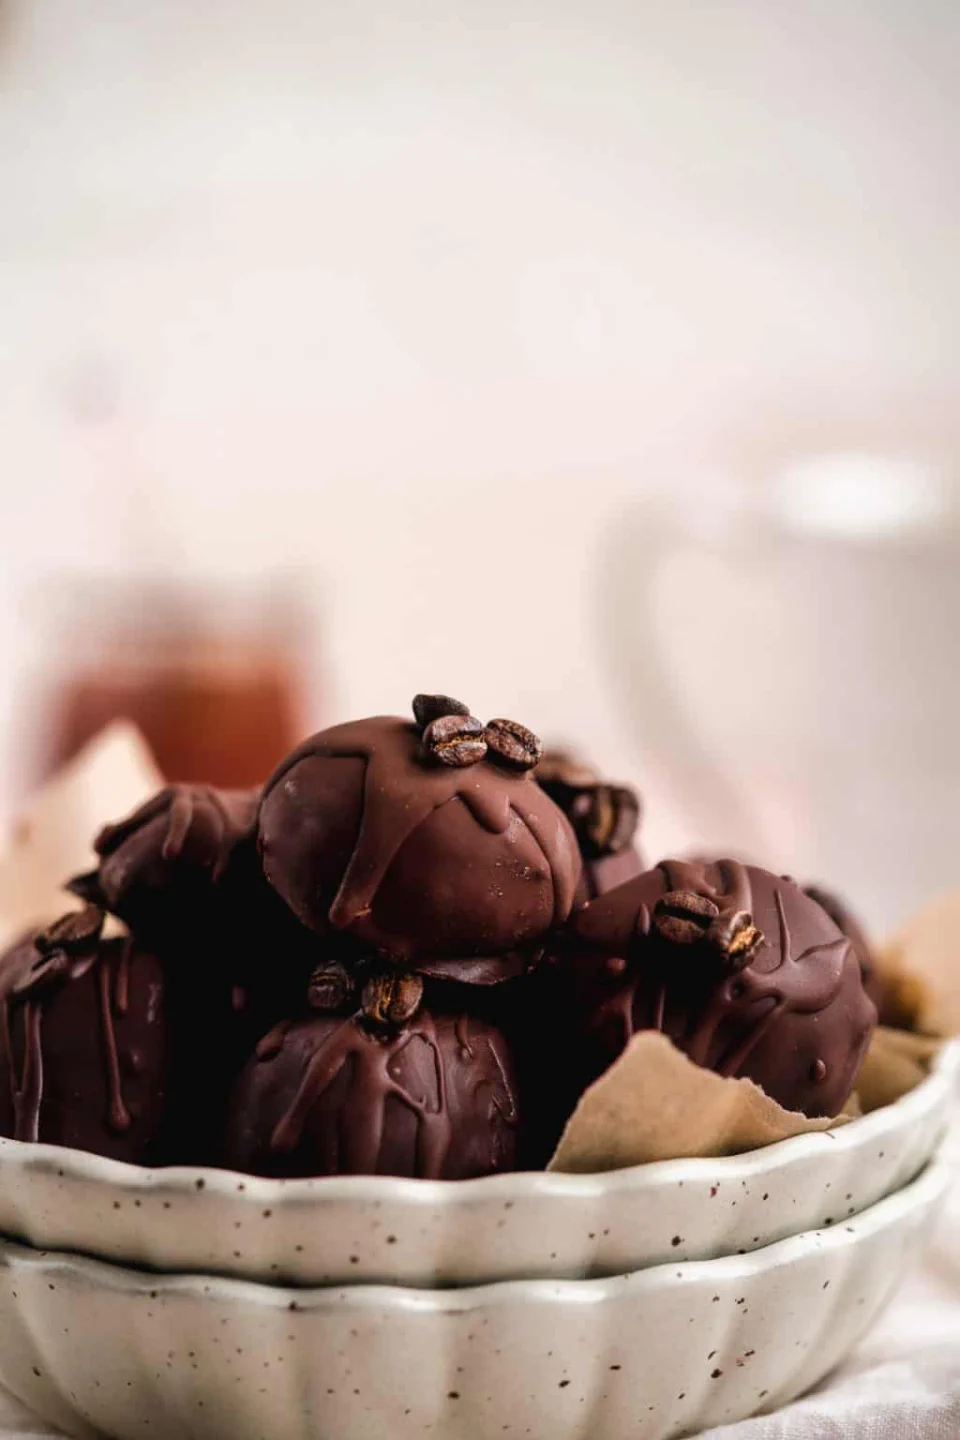
No Bake Snickerdoodle Truffles
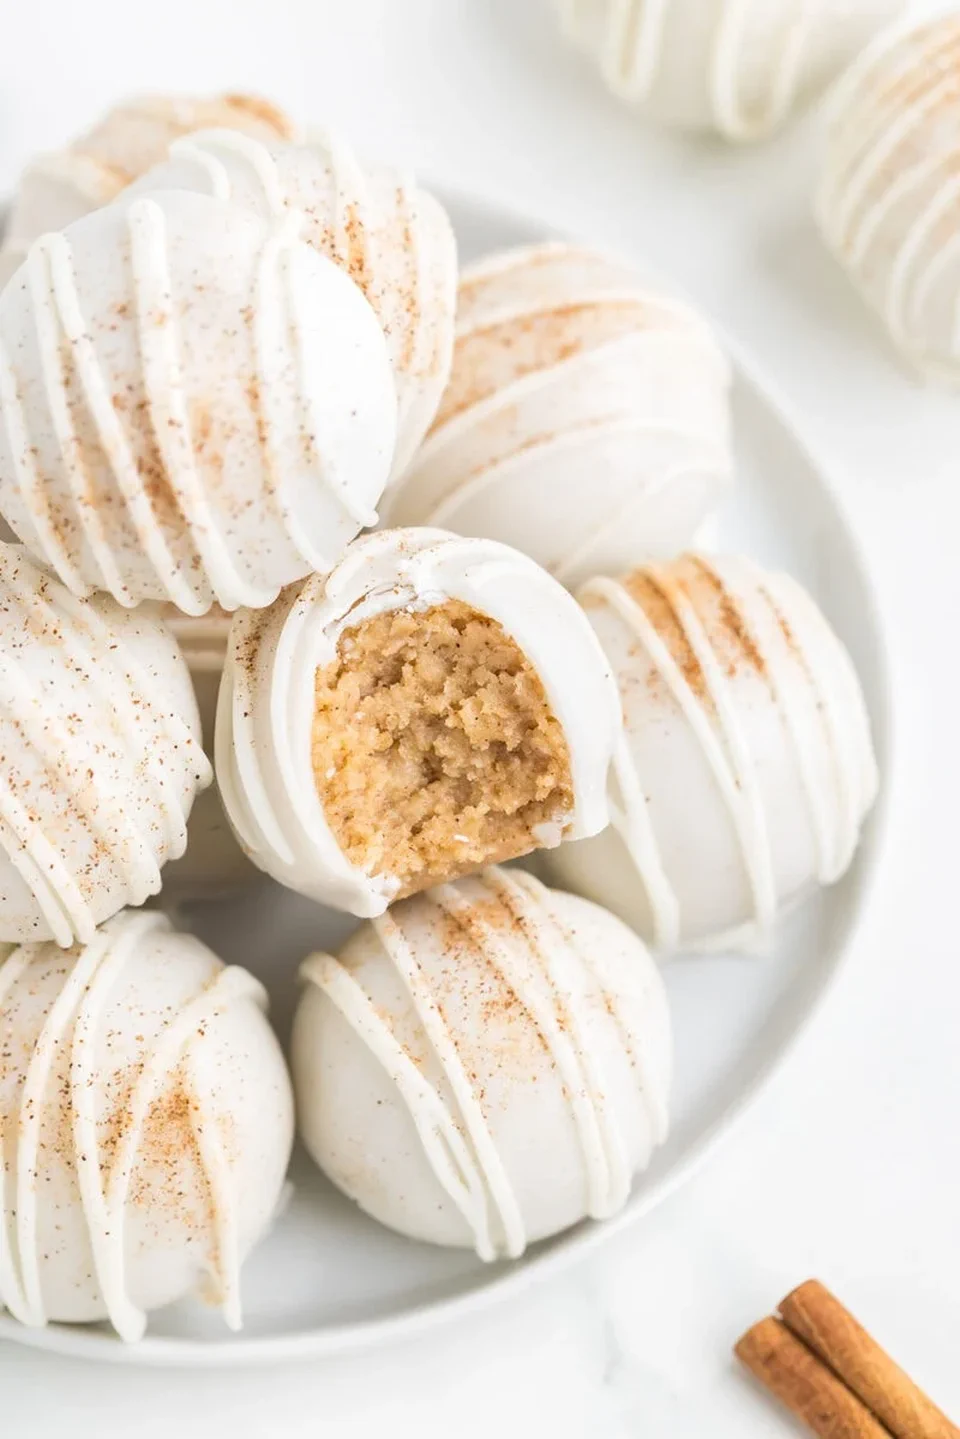
3-Ingredient Chocolate Truffles

Hot Chocolate Truffles
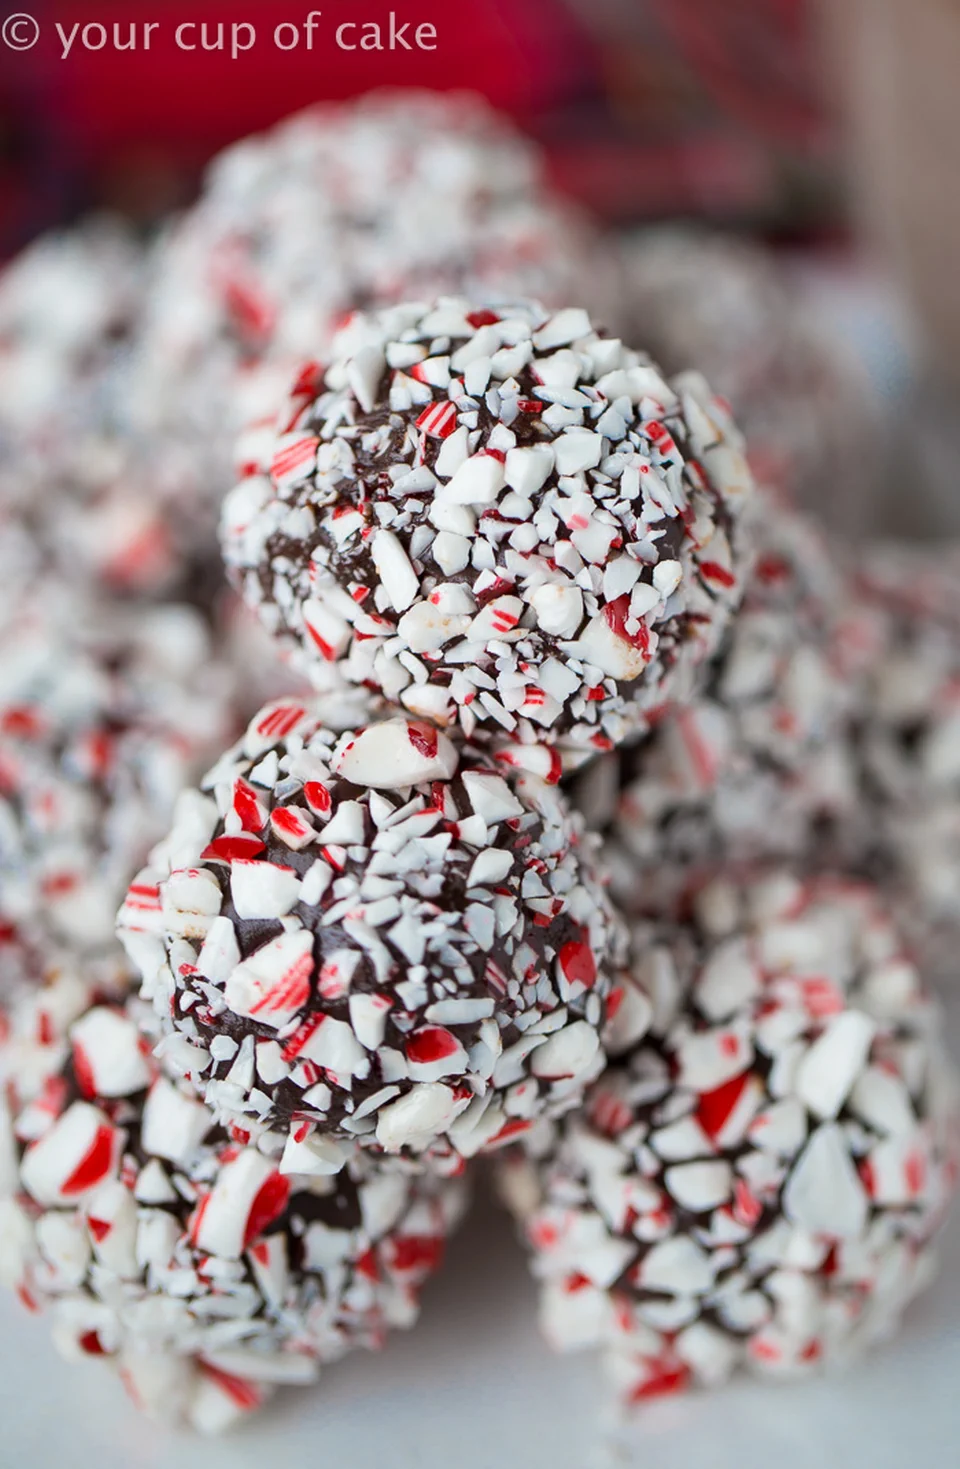
S’mores Truffles
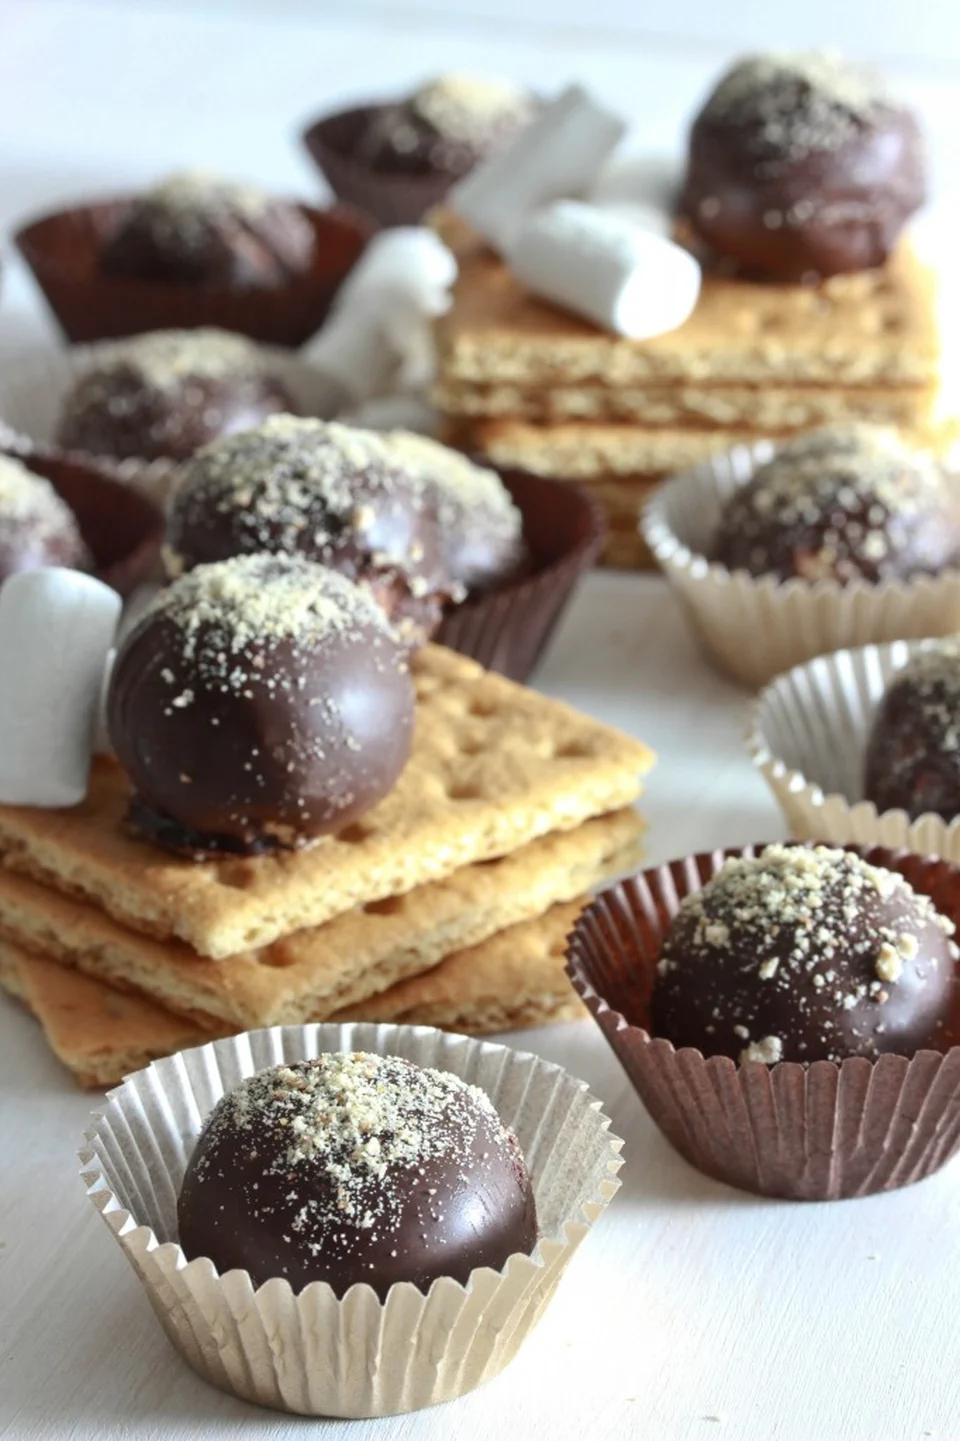
Melted Snowmen Oreo Balls

Mexican Chocolate Truffles
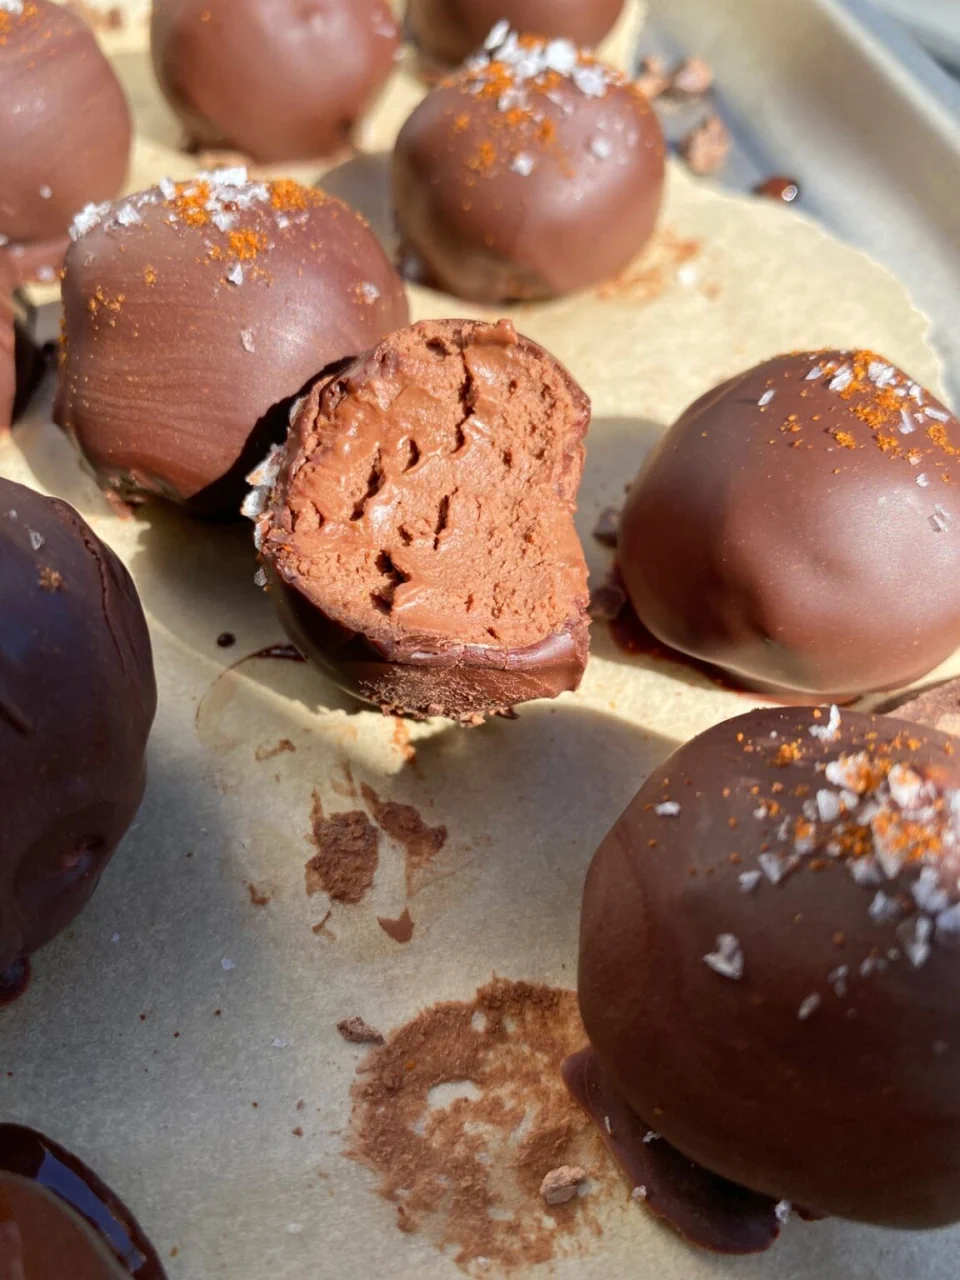
Honey Lavender White Chocolate Truffles
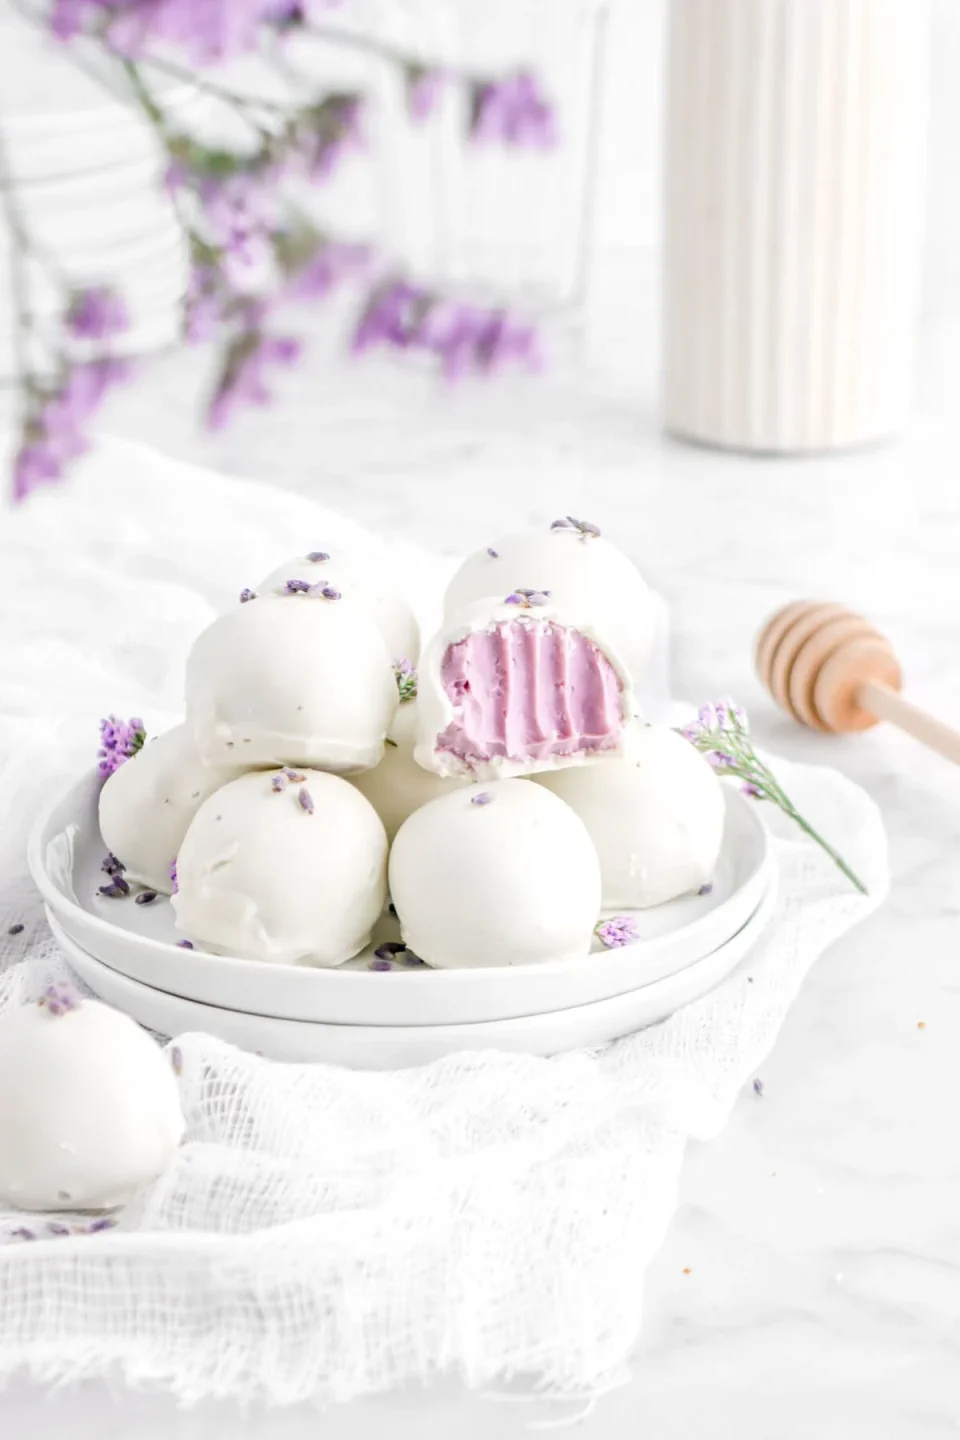
Double Chocolate Sea Salt Truffles
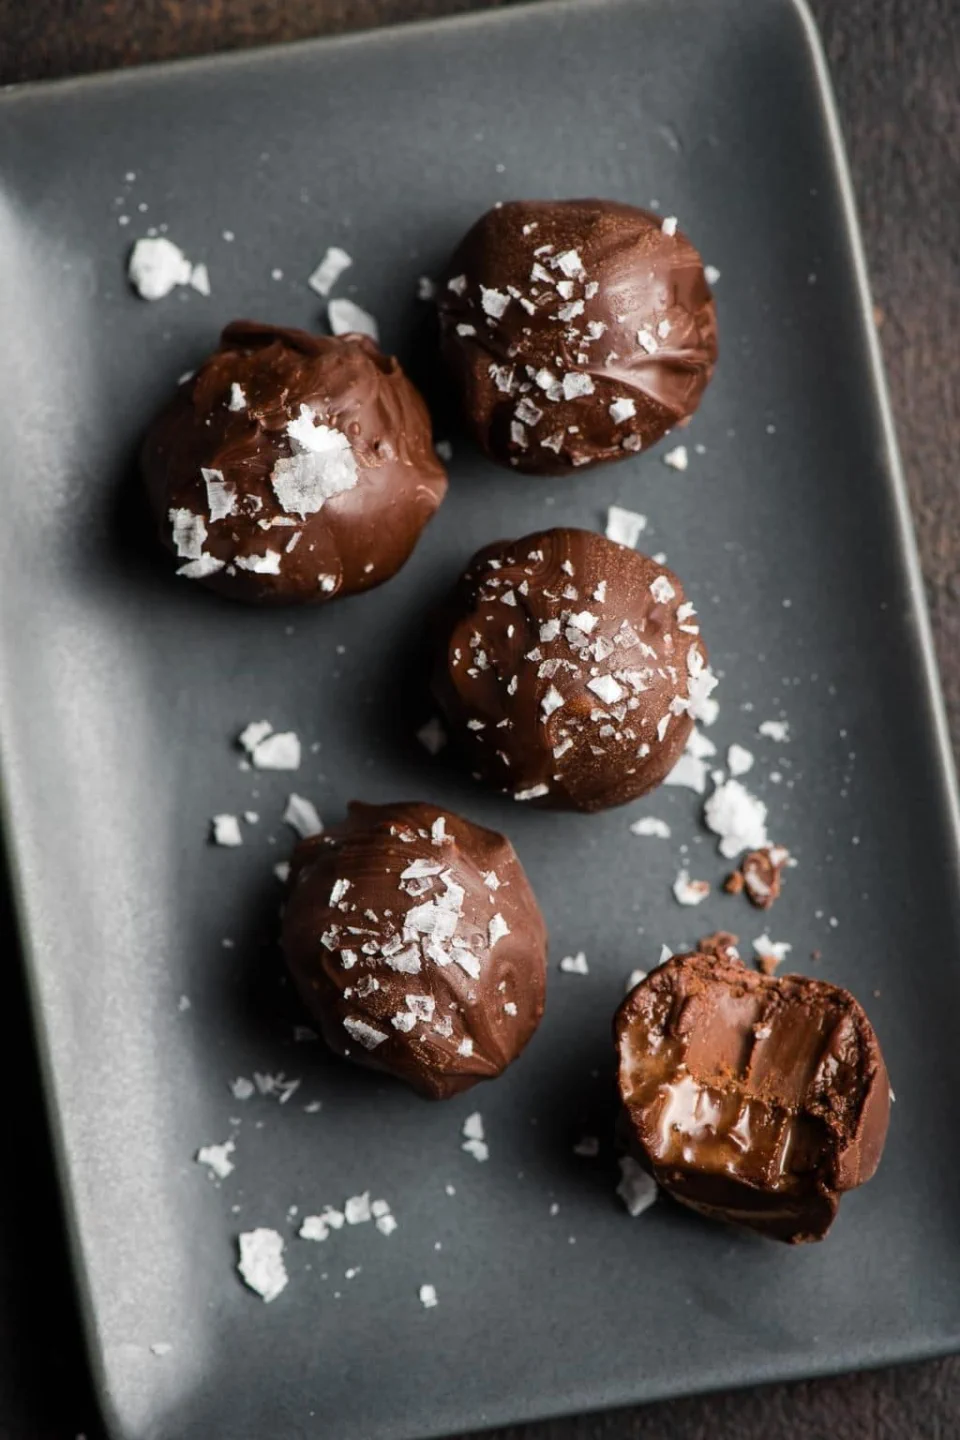
Biscotti Truffles
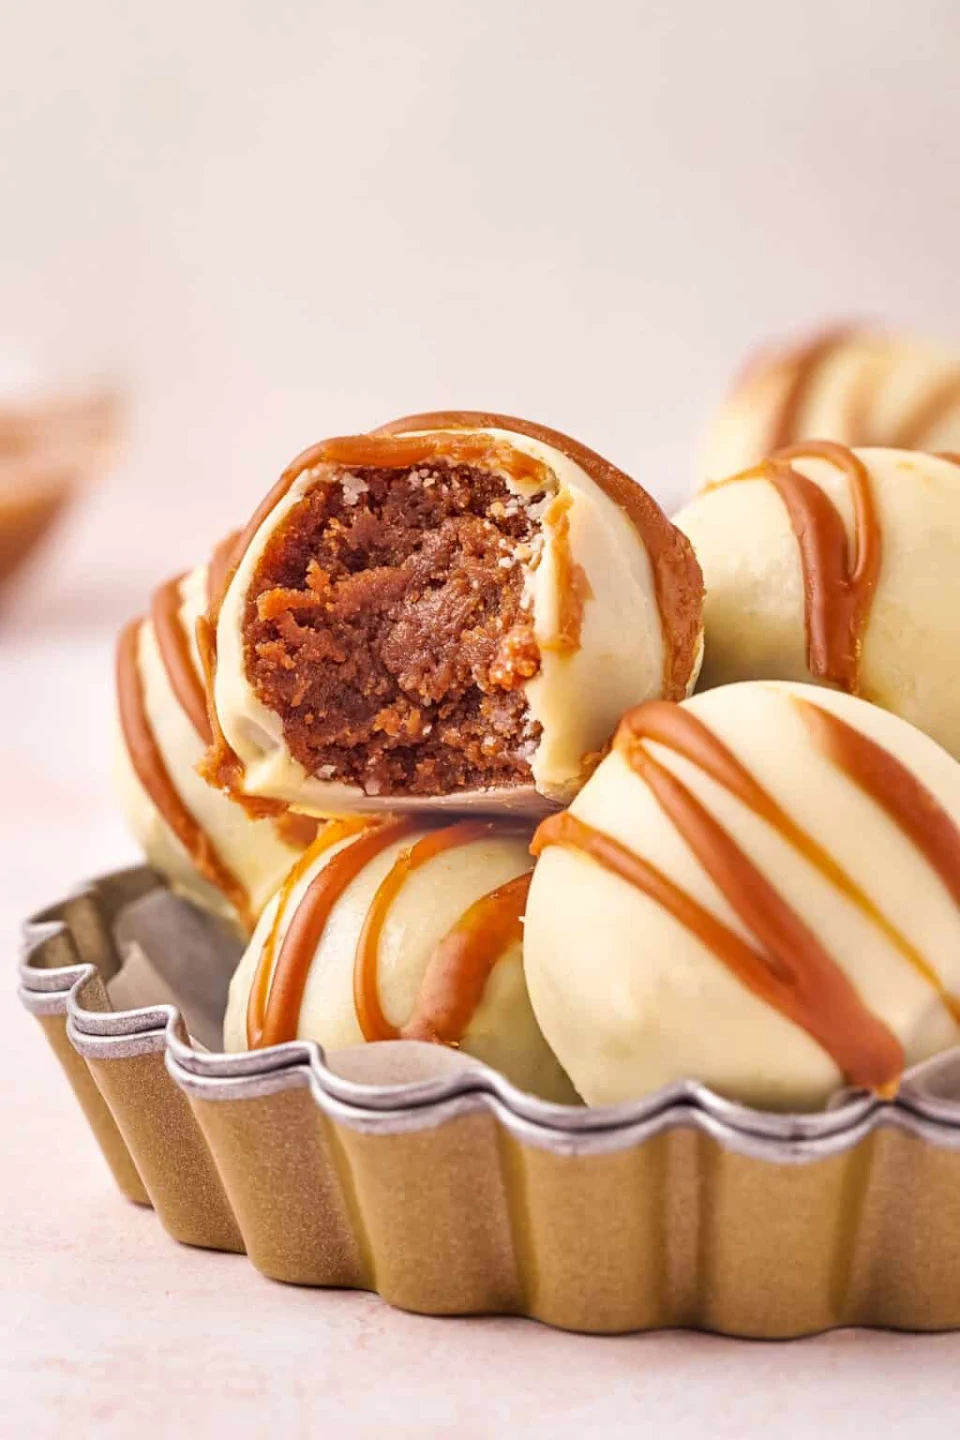
Apple Cinnamon Truffles
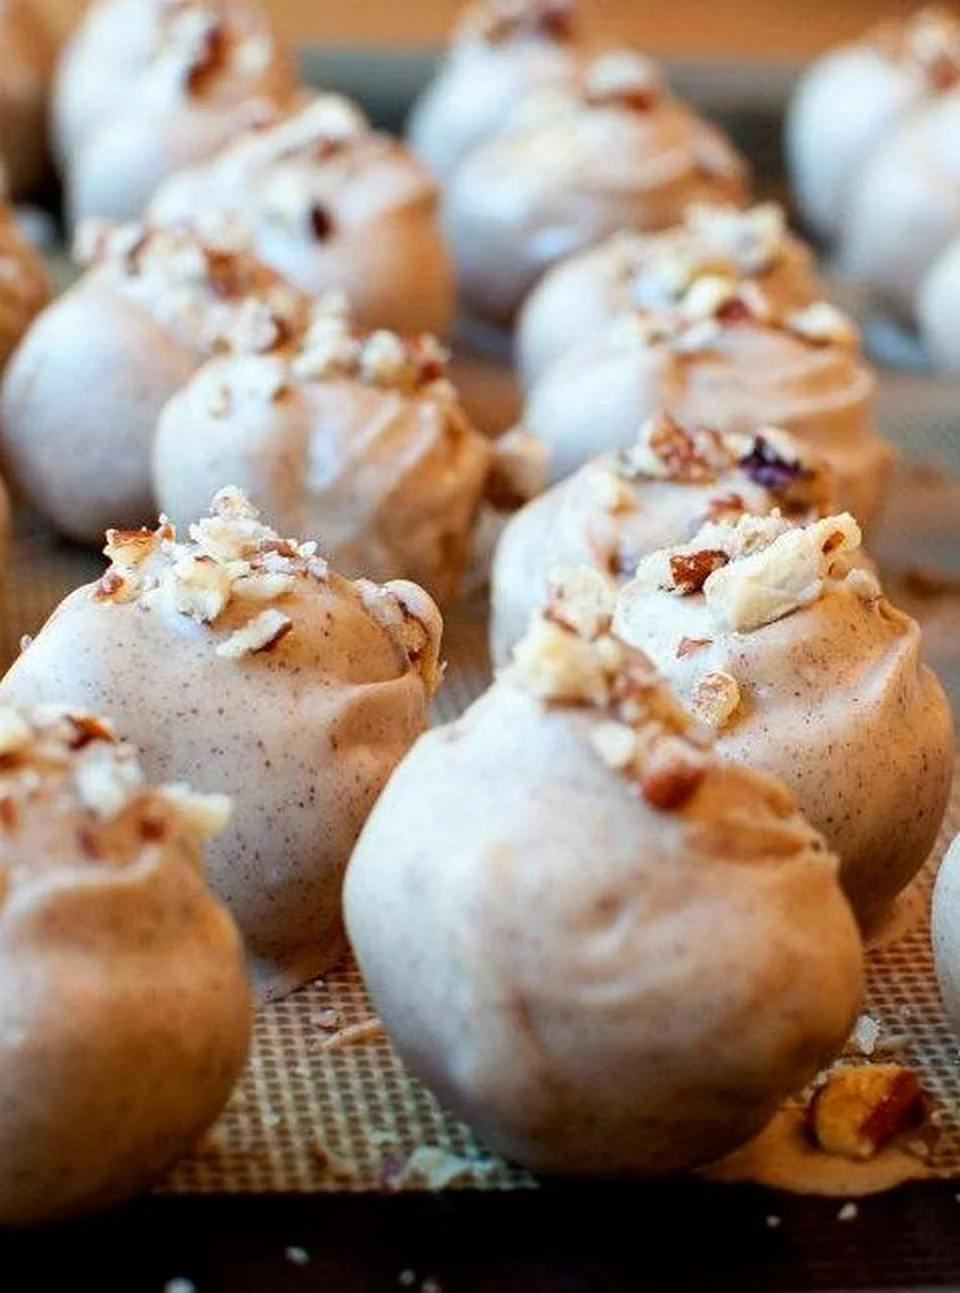
Cappuccino Truffles
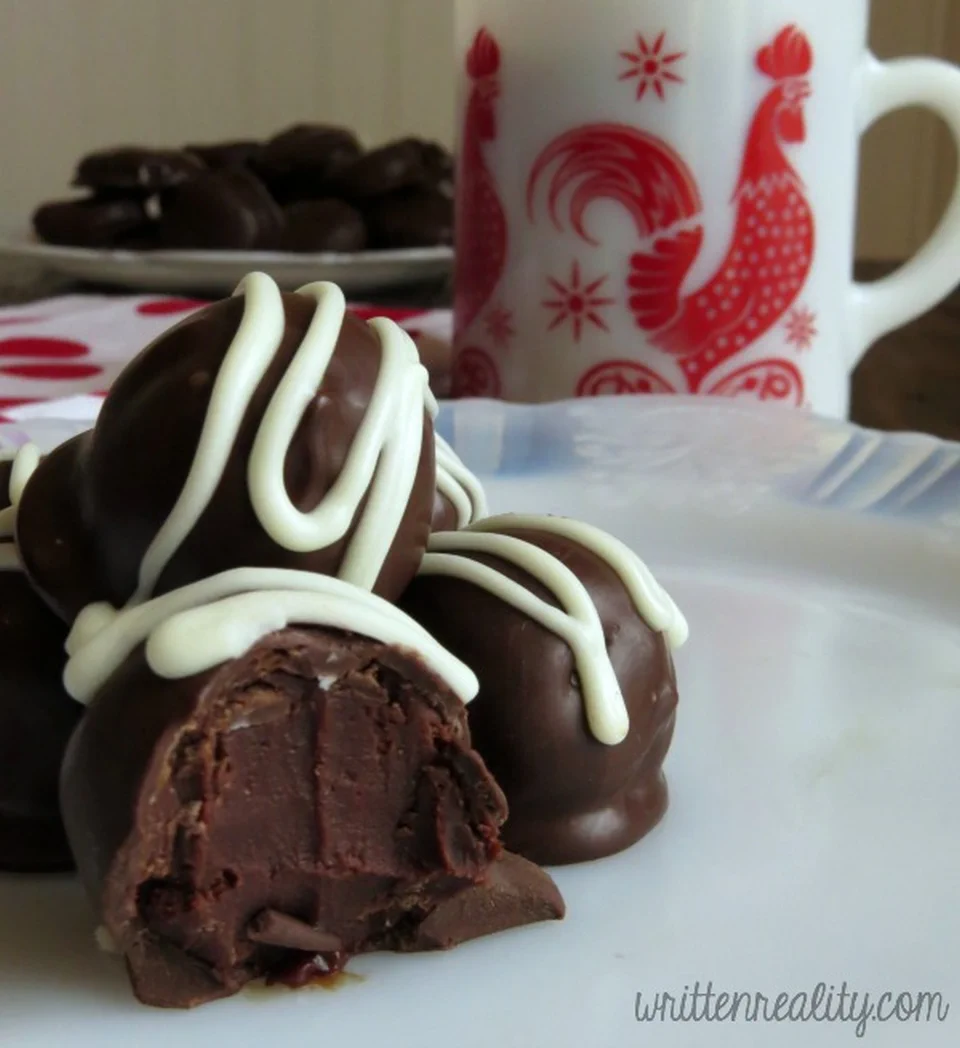
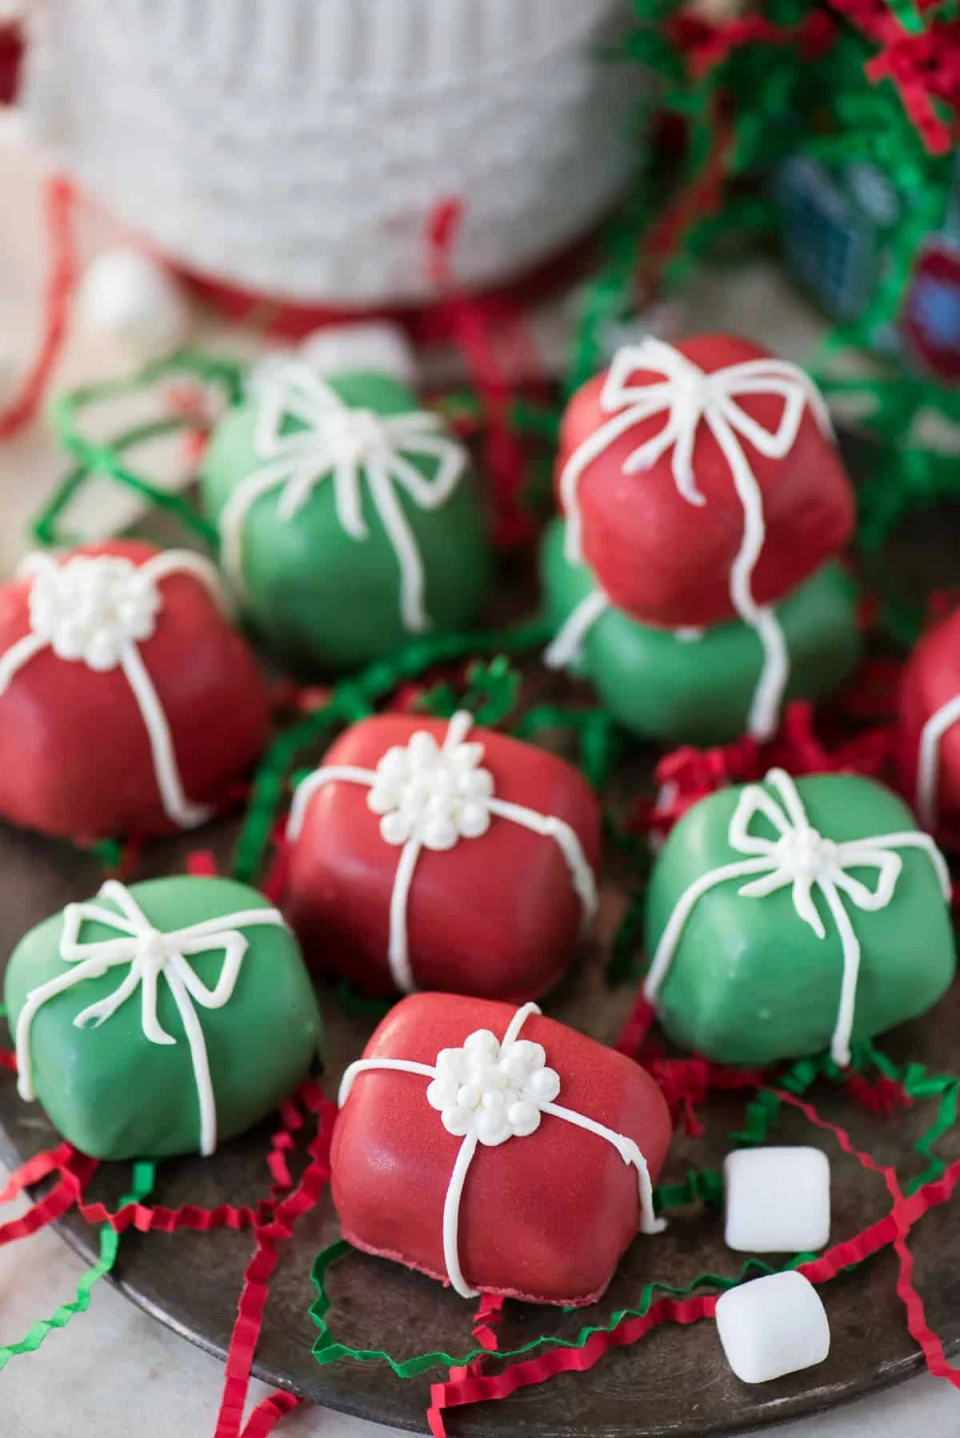
Christmas Present Oreo Balls
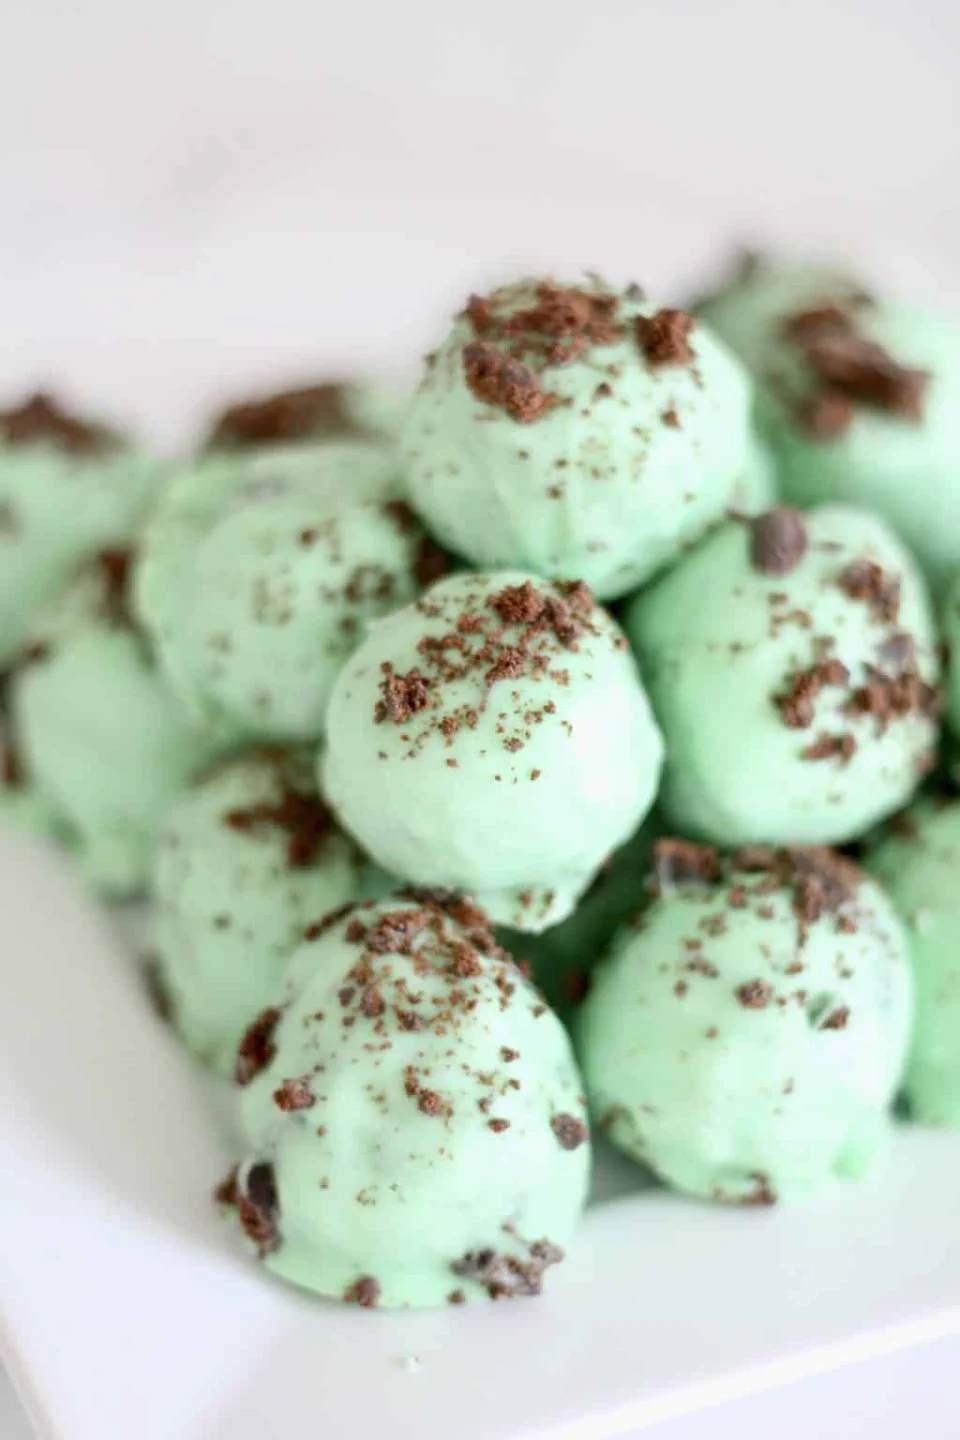
Thin Mint Cookie Truffles
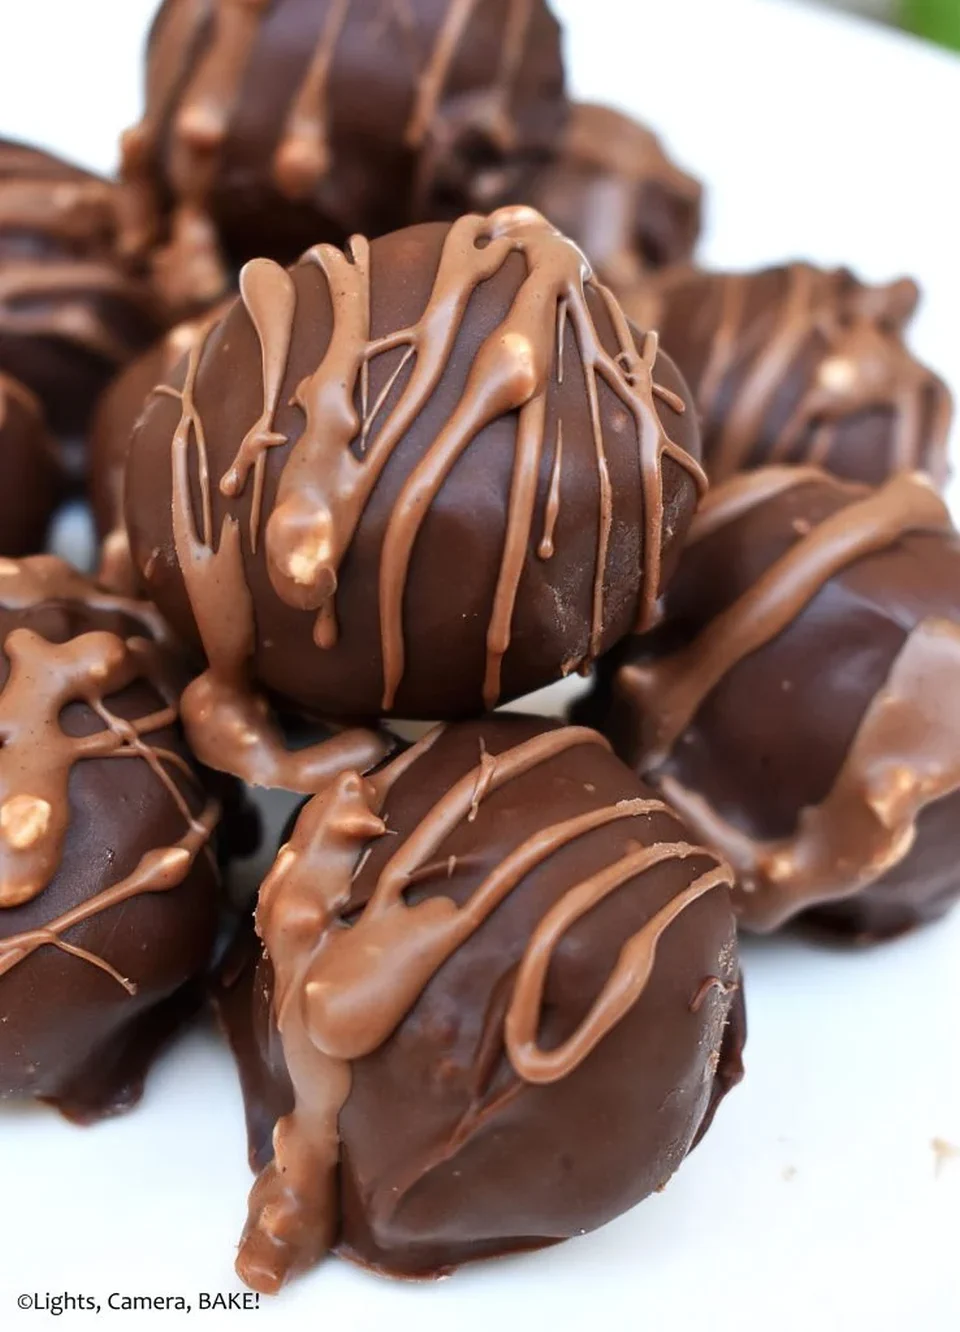
KitKat Truffles
I hope you find some new favorites to add to your holiday traditions! These little treats are perfect for sharing, gifting, and, of course, enjoying with loved ones. Have you tried any of these Christmas truffle recipes before? I’d love to hear if you have a favorite or if you’ve made your own truffles in past holiday seasons. How did they turn out?
Are you planning to whip up a special truffle this year? Let me know in the comments! There’s nothing like sharing sweet holiday ideas.

